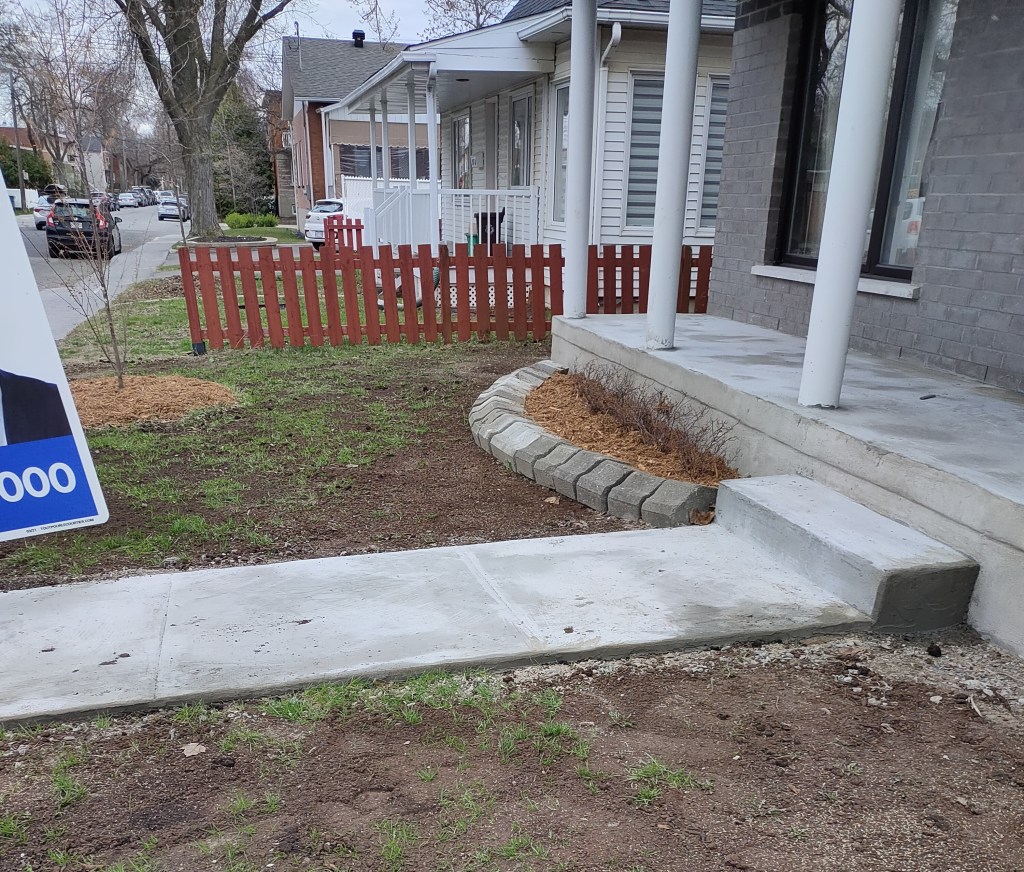
As part of my move into my Mercier-East Montreal, Canada house in May 2022, I’ve kept a list of tasks that I’ve been chipping away it. The most annoying of which, was to replace my cracked front walkway. The existing walkway was 4 concrete slabs, all of which were in various stages of decay. Here are some pix from May 2023 when the ice melted, and it started to break up
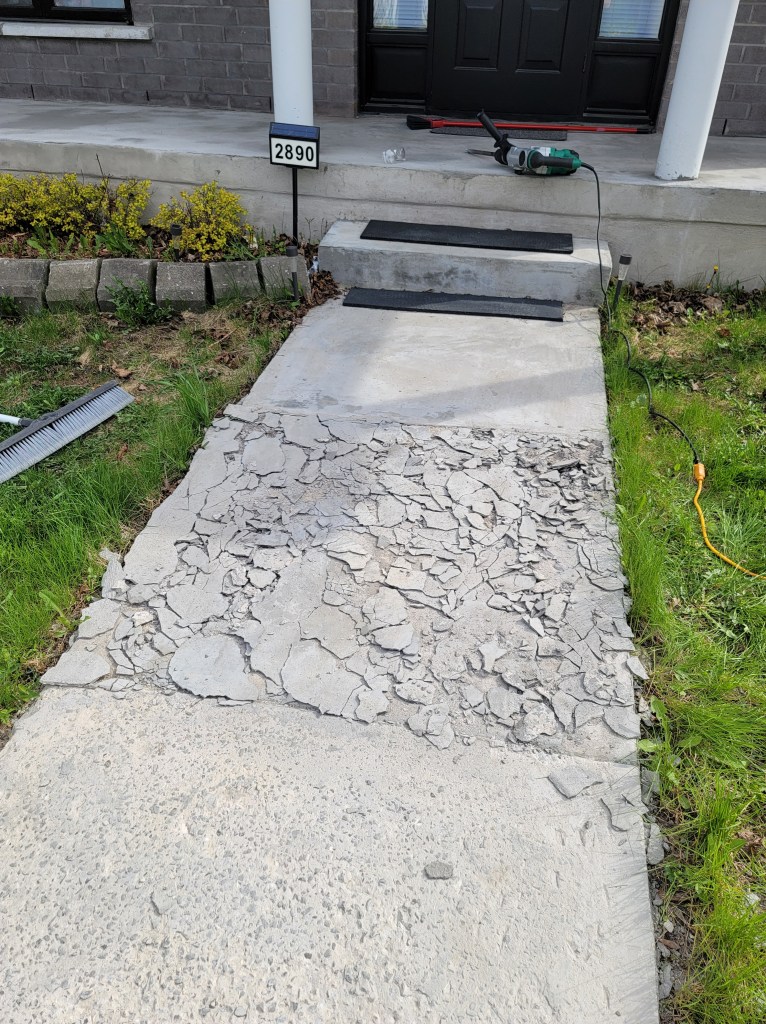
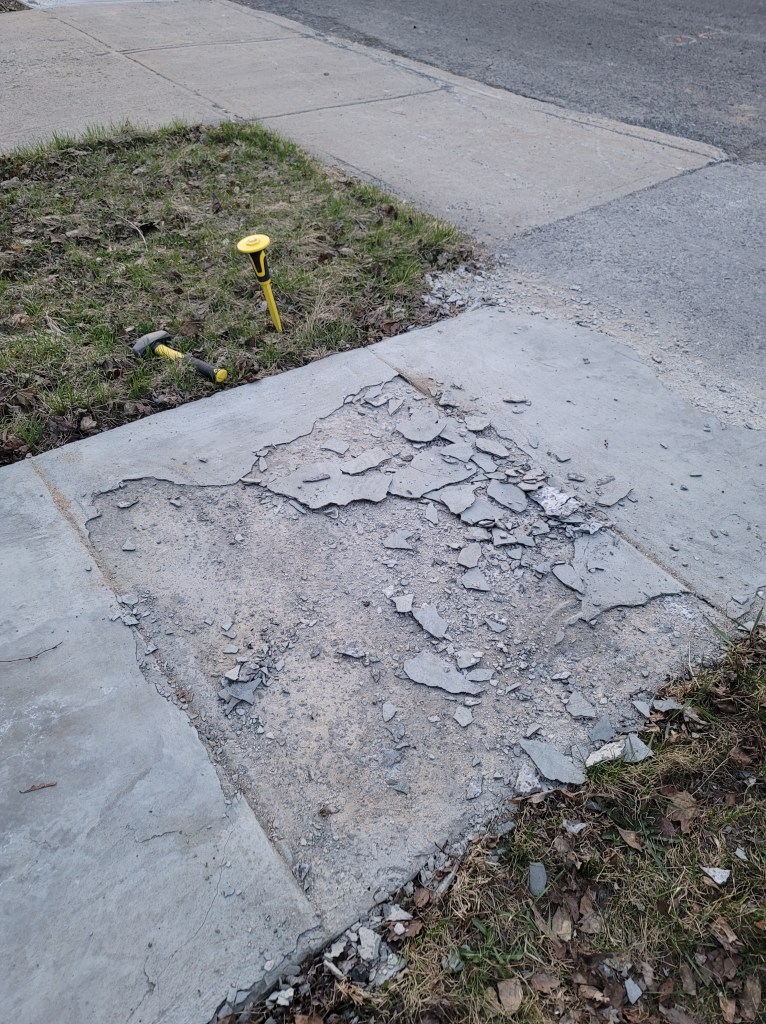
I was able to break up the initial layer with a hammer and chisel (shown above), only to discover a second layer underneath! Not knowing exactly what to do, I had a contractor come over to get a quote to replace the front walkway with new concrete. The dimensions of my walkway are 19 feet deep by 4 feet wide, not huge. His quote was $4000, with respect, GTFO, M8

My DIY quest kicked into high gear to learn the skills required to get it done for cheaper
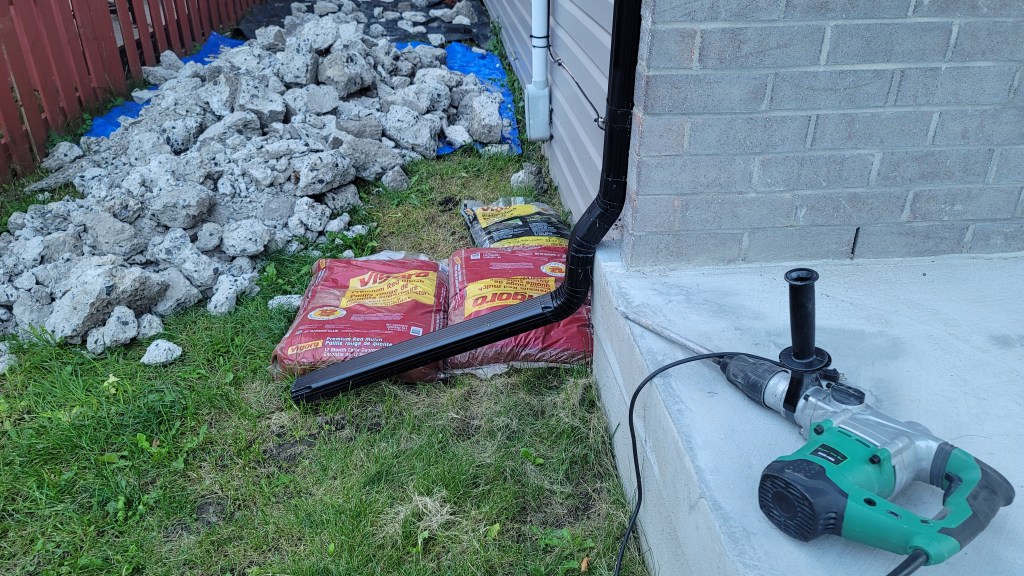
Next, I bought this small jack hammer for $149 CDN on Amazon to break through the second layer

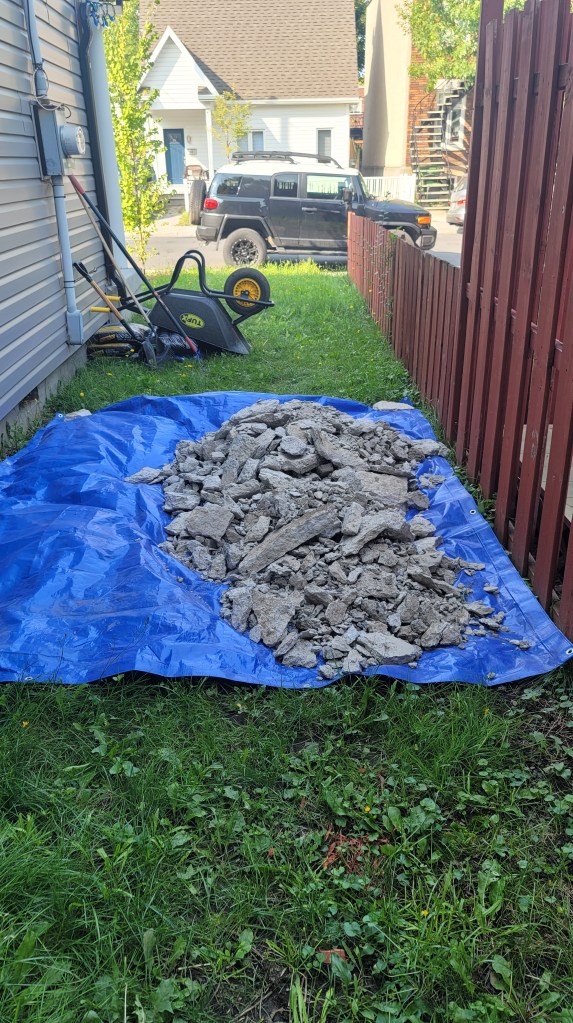
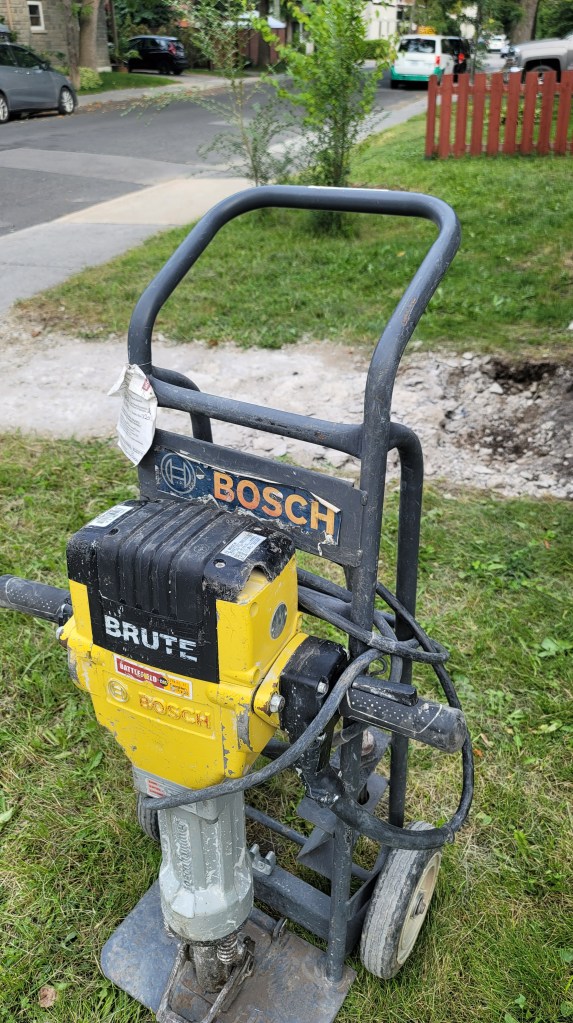
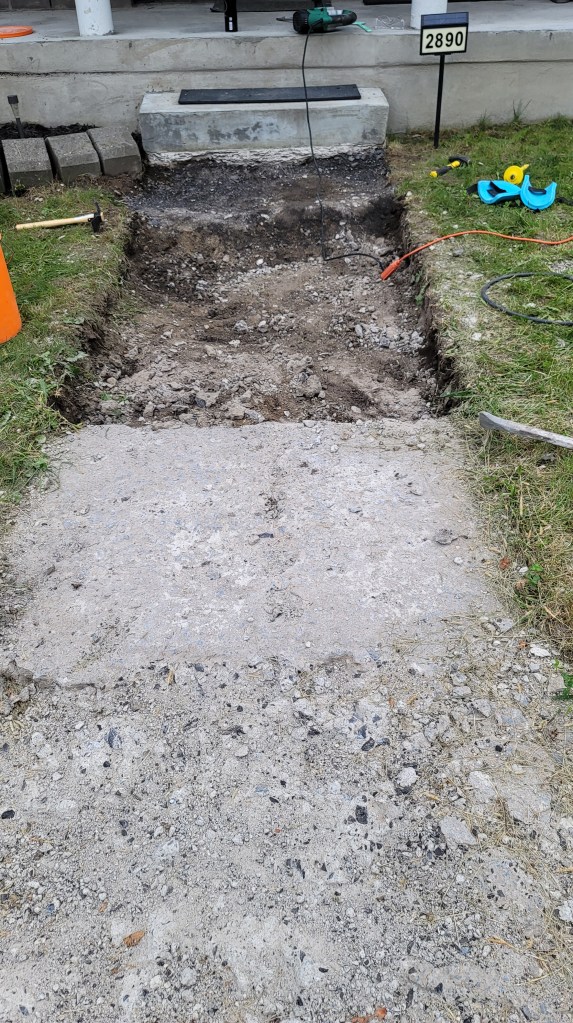
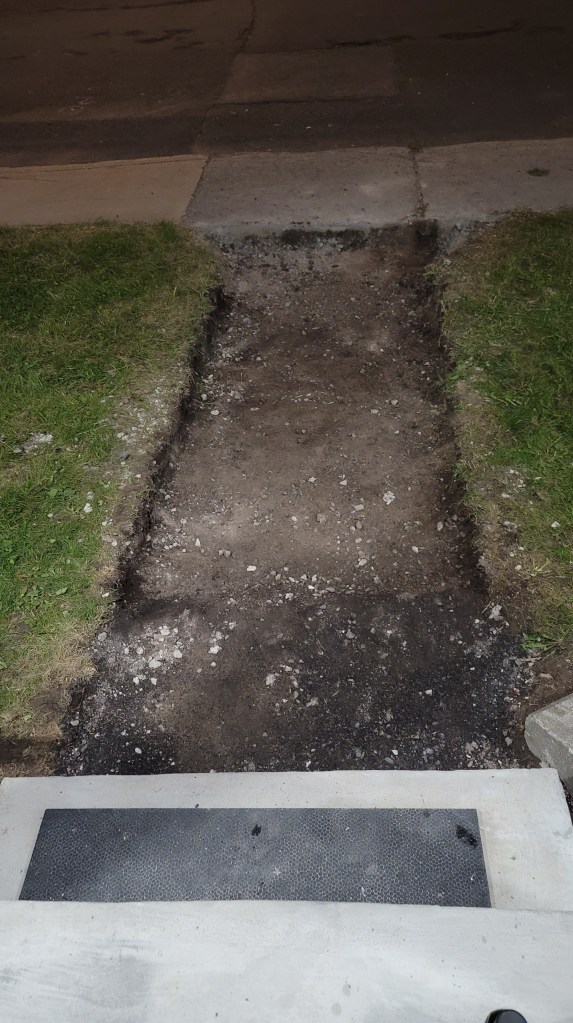
However, the second layer was too thick for the small jack hammer I bought, as such, in late August 2023, I rented a jack hammer from Battlefield (love the name). I’d not ever used a jack hammer before, after consulting some YouTube videos, I went to work. I was not fully successful in removing all the broken concrete, as once I broke through the second layer, I found a third! I called this layer the “OG” layer. The house is from 1949, so, the final 3rd layer was probably the original. I would guess over the years that multiple owners paved over the previous layers as the top cracked due to the harsh winter conditions of Montreal. I rented the 60 lb jack hammer again, and this time, made much better progress, the end result was a bunch of broken up concrete, which I’ve slowly been disposing of. The total cost for the jack hammer rental was about $200 for the 3 days I had it. I do all my work at night after work , so I had to rent the unit for multiple days. If I was to ever take on a project like this again, I’d use vacation time to make better progress.
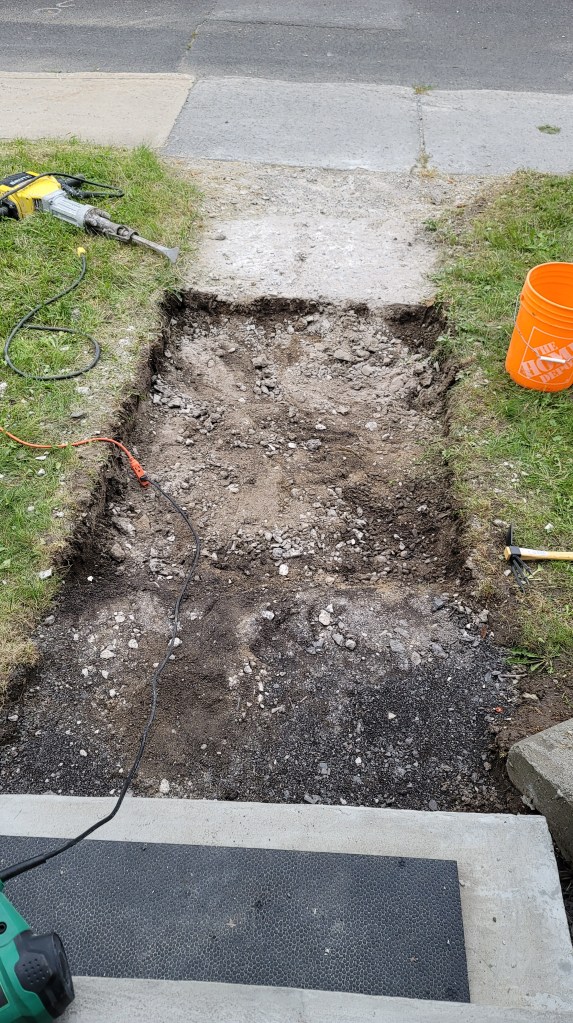
Removed concrete and demolished front walkway

My original plan, was a ‘like for like’ replacement of the slabs, demolishing 4 slabs, and replacing it with 4 slabs. However, regular concrete slabs are kinda boring, and at some point , the winter and shifting ground will probably crack it again. A gravel / river pebble based design is a better choice. I referred to some ideas online, and reviewed a number of YouTube videos, and came up with the following design in late Sept 2023 following the completion of the concrete demolition
Layer 1: Dirt
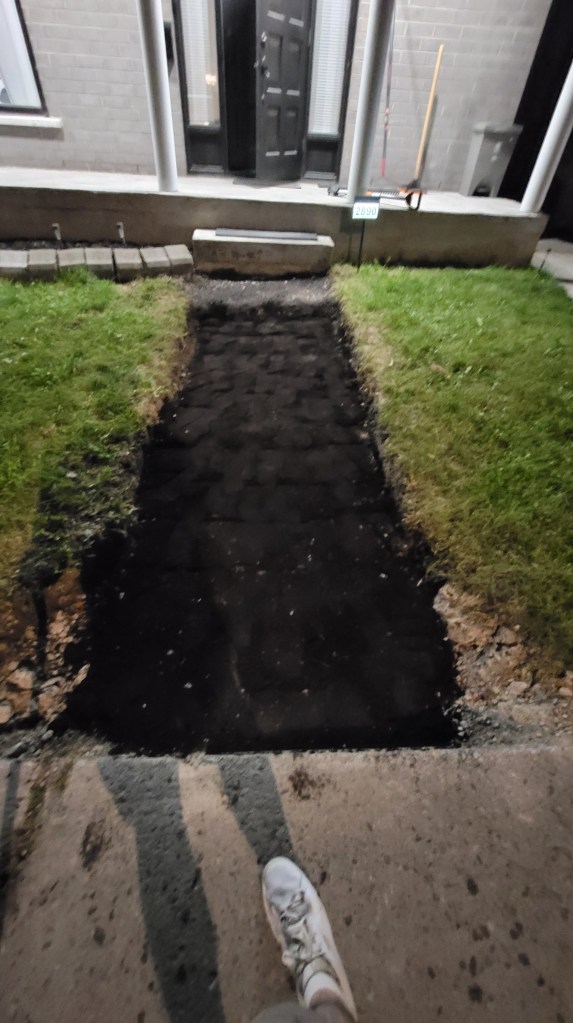
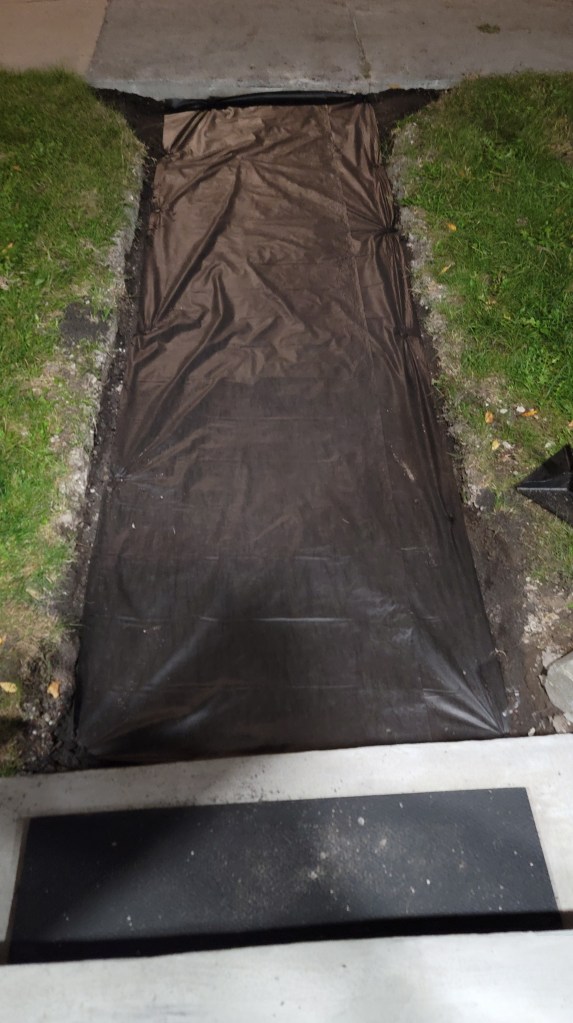
Layer 2: Weed barrier
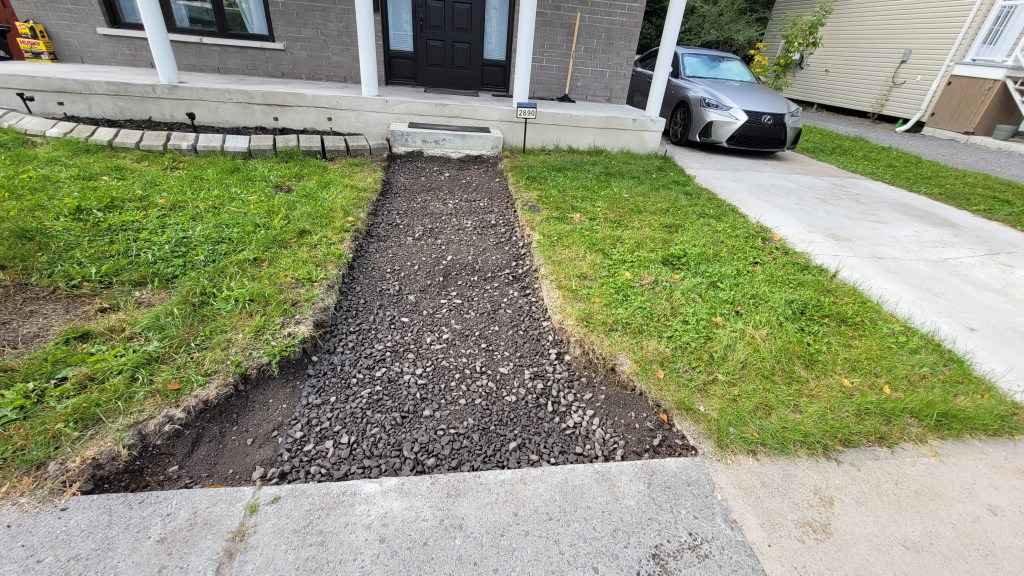
Layer 3: 3/4 inch gravel
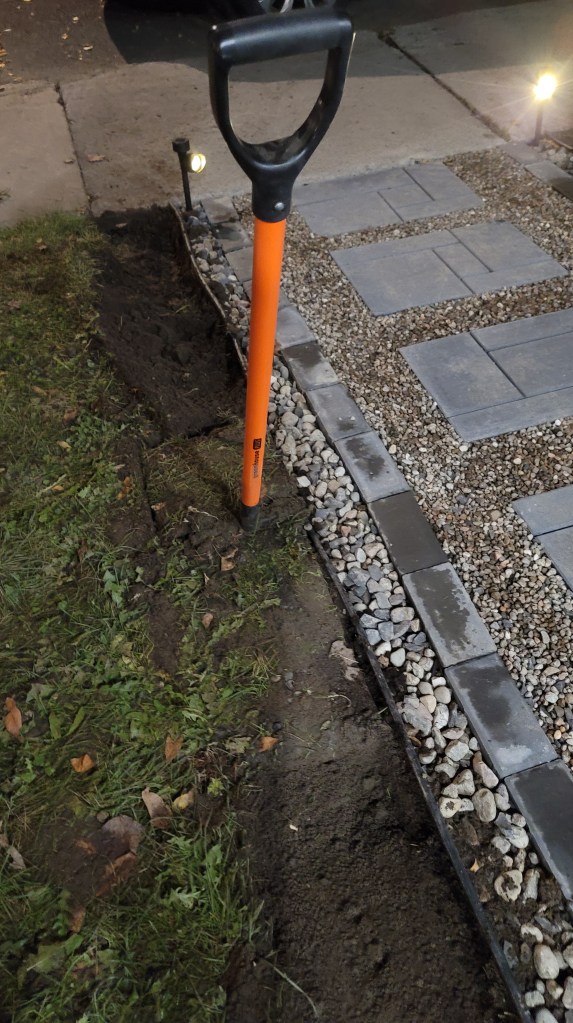
My eye-sight is ok, but this is the type of job you need to measure 2-3 times to ensure alignment before setting anything. I used wooden stakes and string to align the bricks with the concrete step that I didn’t remove
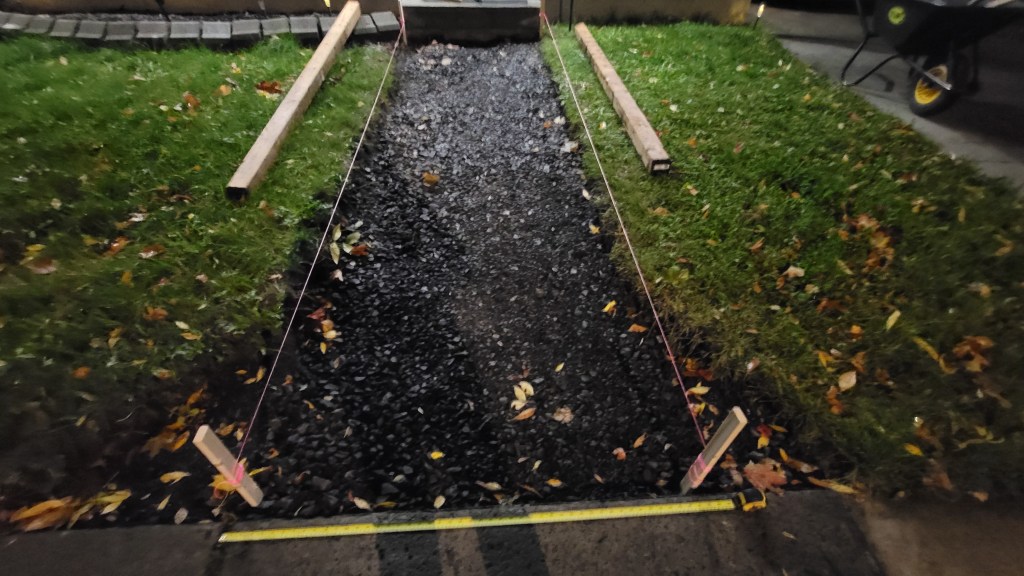
Sides: 40 Vertically aligned bricks on the outer edges (20 per side). I also installed some lawn edge boards to demarcate the edge of the lawn to the new front walk-way, more of a stylistic choice
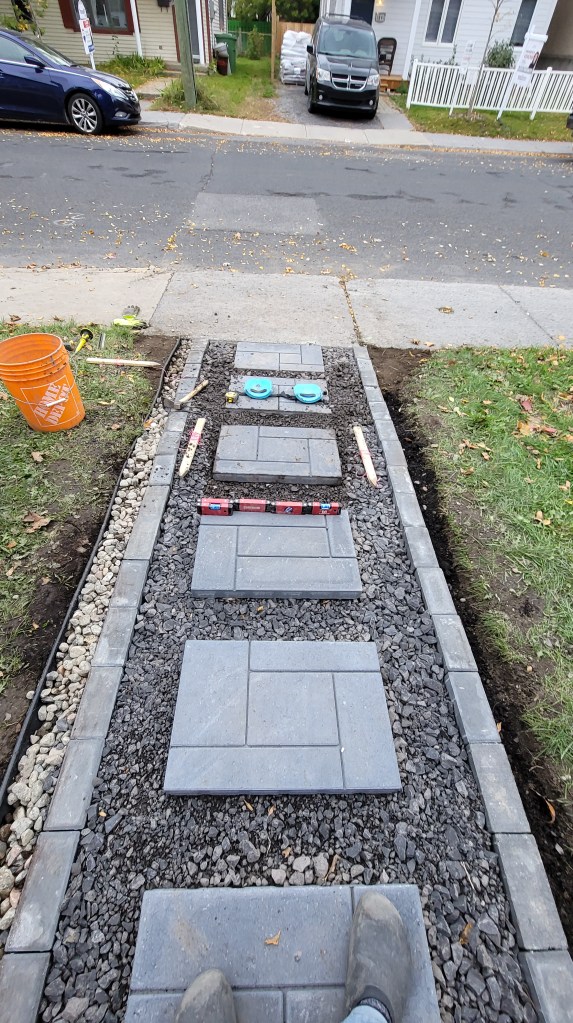
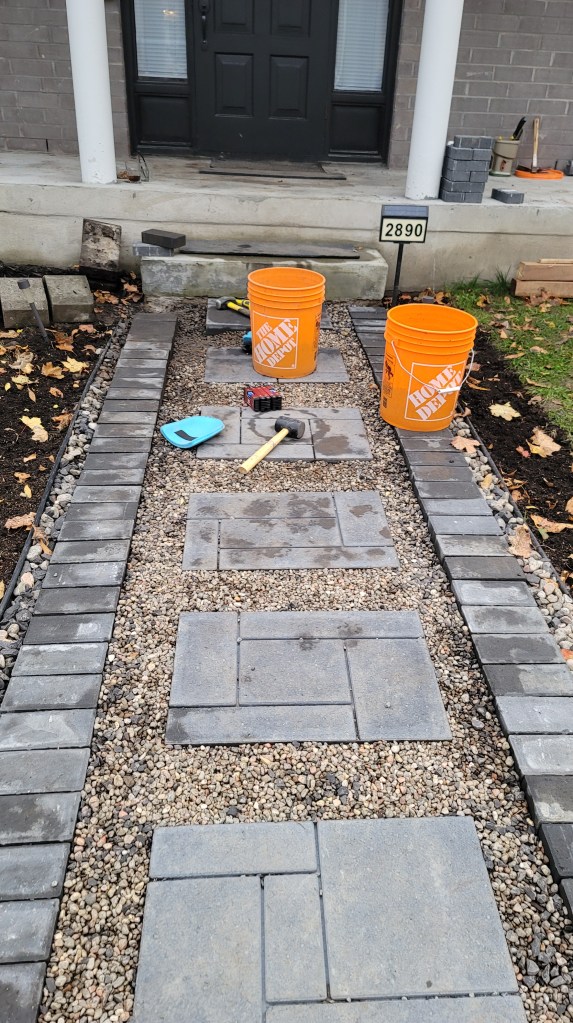
Layer 4: Pavers every 9 inches buried into the 3/4 inch gravel, these are what people step on to walk up to my front door
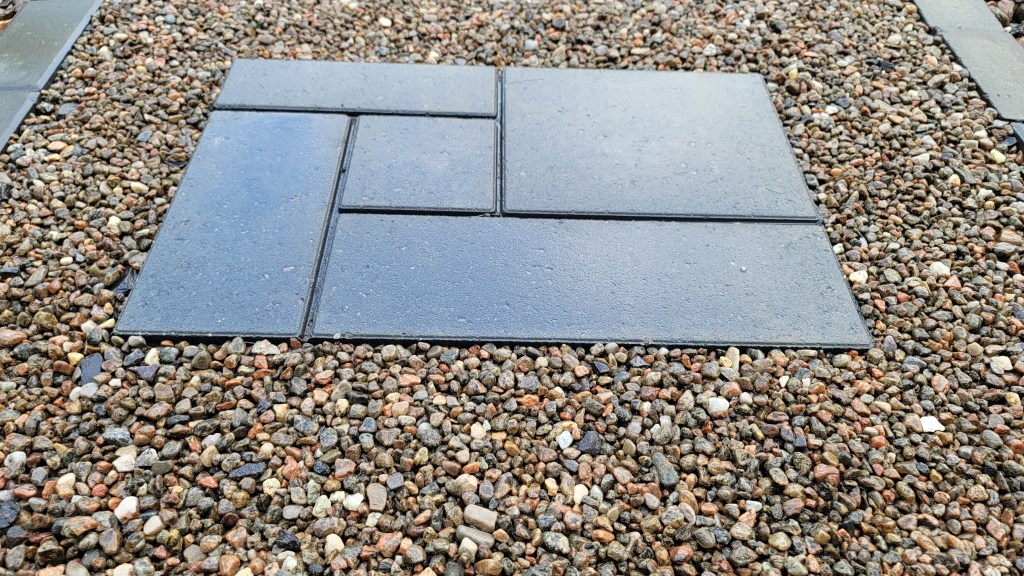
Layer 5: River pebbles as the final layer enclosed around the 7 pavers

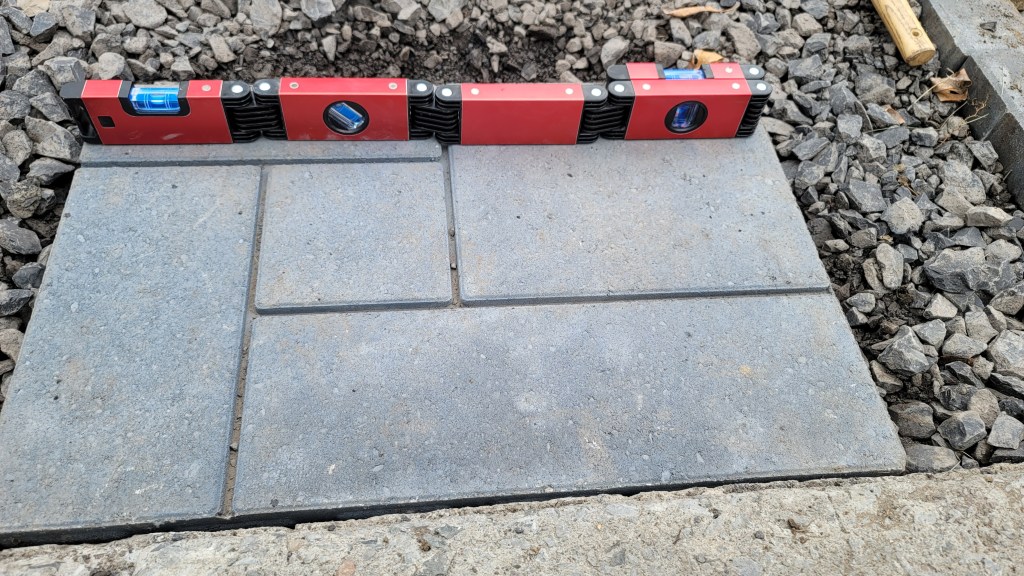
Anytime I’m explaining any DIY work I’ve done over the past year, I’ll usually state ” I don’t know what I’m doing, until I’m doing it”. As a result, a lot of tasks I thought were simple after watching a 10 minute YouTube video, took a lot longer than expected. For instance, burying / levelling each of the 7 pavers was about 10-15 minutes per paver, so took about 2 hours to complete. I wanted the pavers to be flush with the river pebbles to avoid people tripping
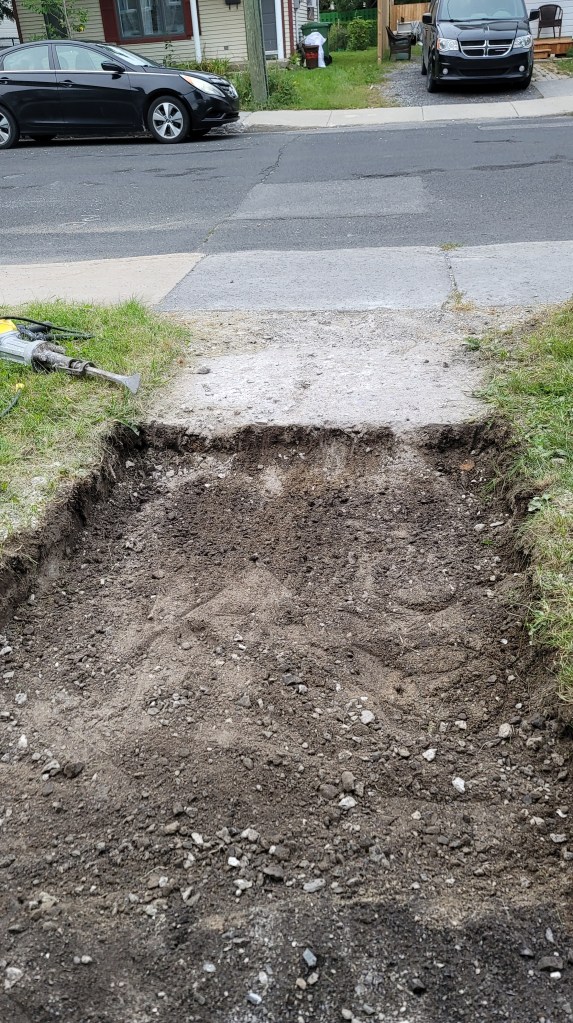
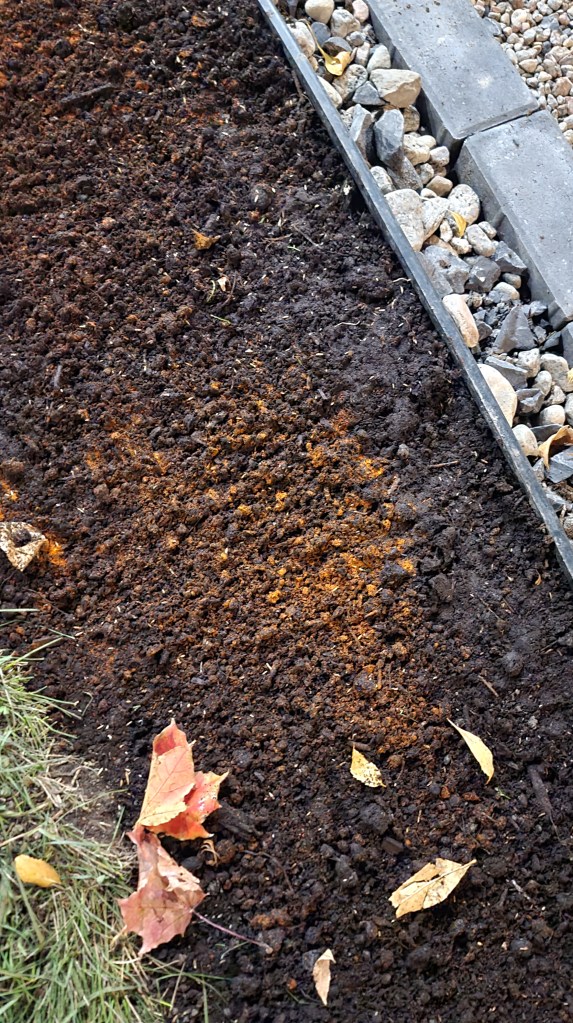
Using the jack hammer to remove the concrete destroyed part of my lawn, I excavated a bunch of the dirt with a cutting spade, once done, rather than adding replacing with sod or more rocks, I decided to buy some soil and leave the sides as flower beds.
I bought / planted 20 tulips
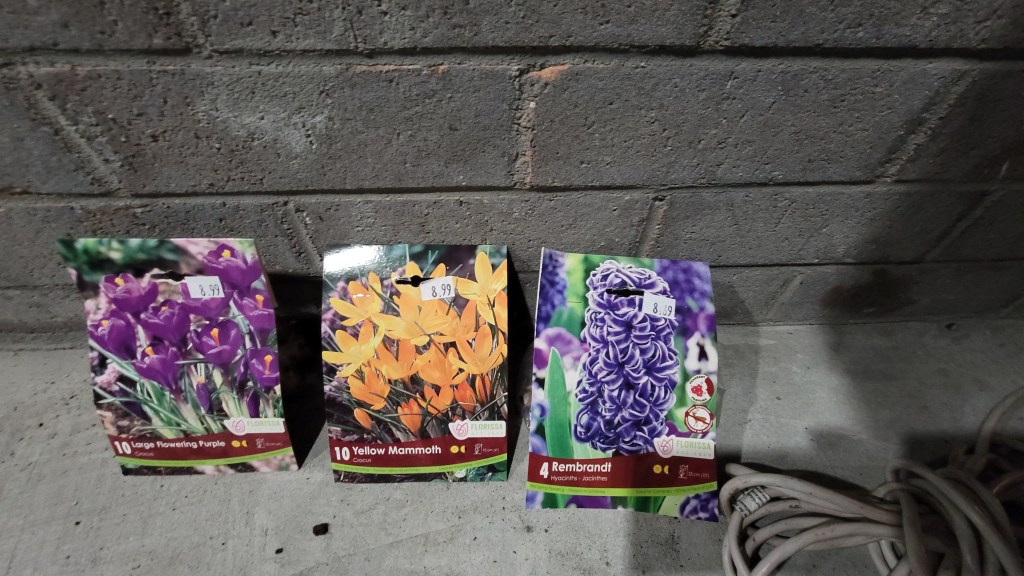
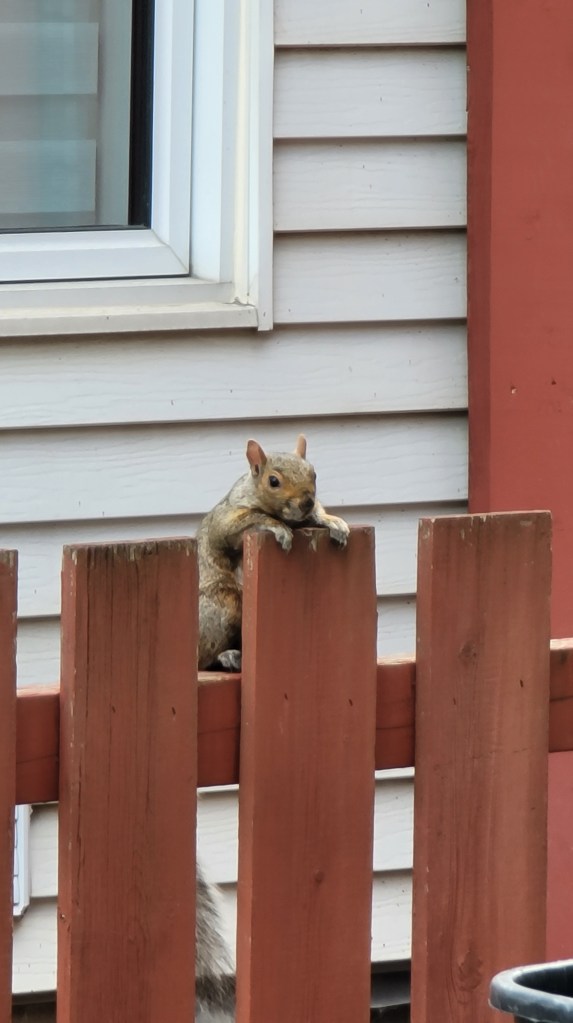
The next day, 2 of the 20 tulips were promptly eaten by the neighborhood squirrel, whom i’ve nick-named Skippy (actual pic below). I used curry / cayenne pepper to discourage him from further snacking 😁

As part of my work, I had found stepping on the bricks in their original vertical orientation, they would become unbalanced , so with the side planter work done, I decided to re-orientate the vertically aligned bricks from a vertical position to horizontal. This setup is more stable , so the bricks won’t lose their original position, as well it looks better aesthetically against the pavers
So, I bought another 40 bricks from home depot and set about installing them
Here’s a pic at the half-way point, horizontal aligned bricks on the left, original vertical position for the bricks on the right.
I have to say, this simple change was a ton of work, each brick was removed, manually checked with my multi-position level, and then tamped down into place with my rubber mallet. I did some of it in the rain Oct 26, 2023, during my vacation week The entire re-orientation process took about 2 hours per side, so 4 hours. I’m really glad I did it, but wow, way more work than expected 😅
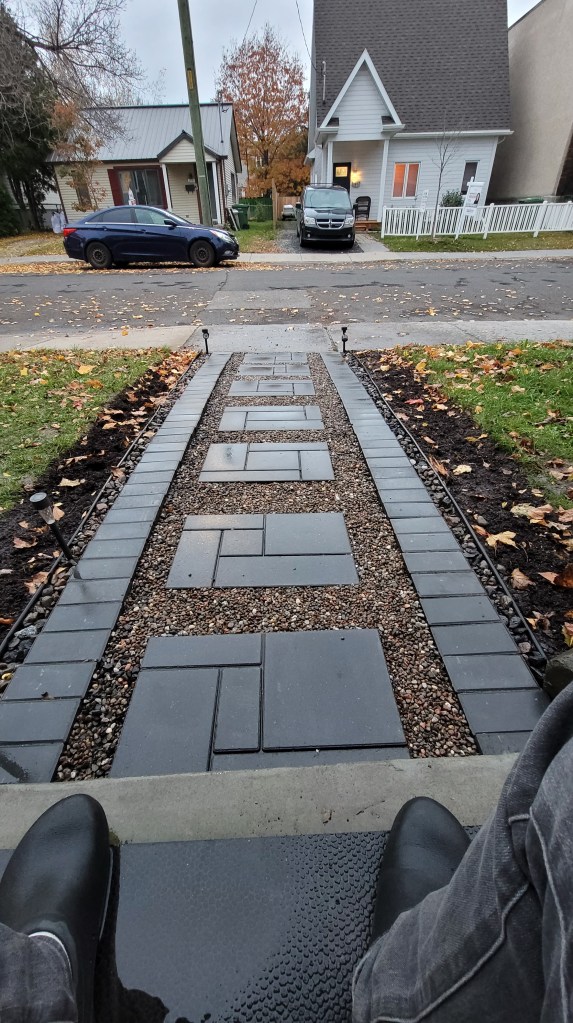
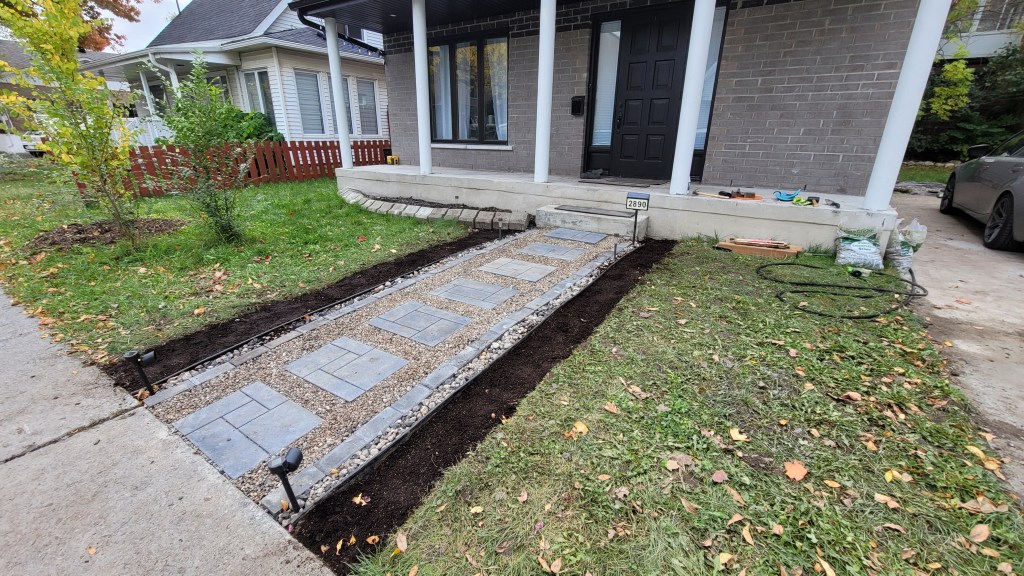
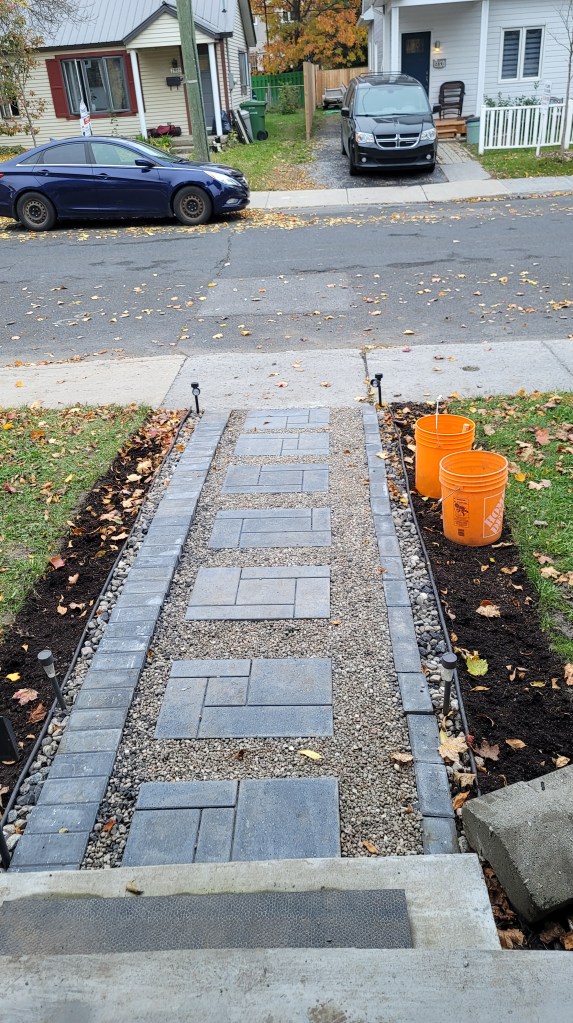
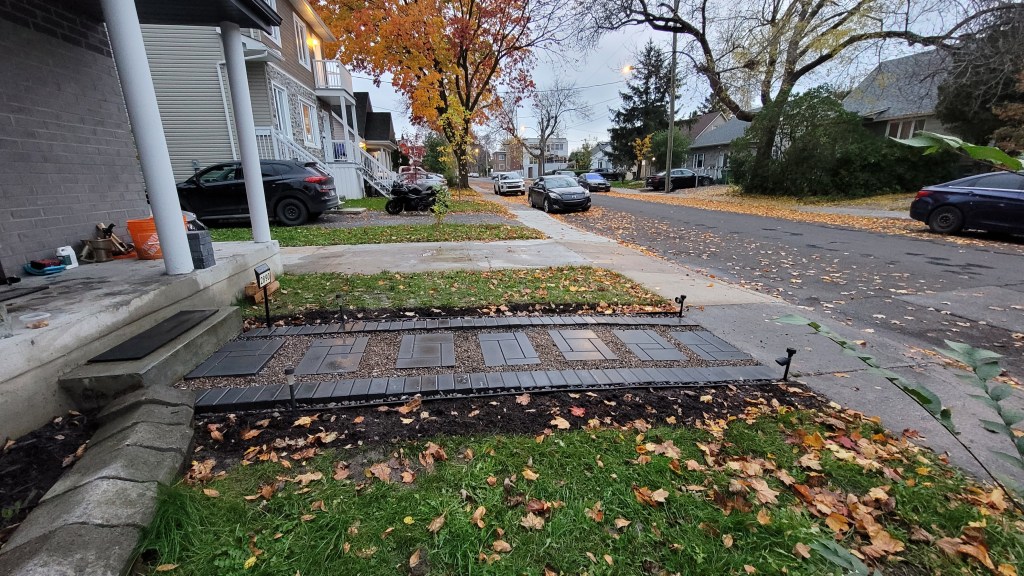
And now, for some summary pix!
Before
After
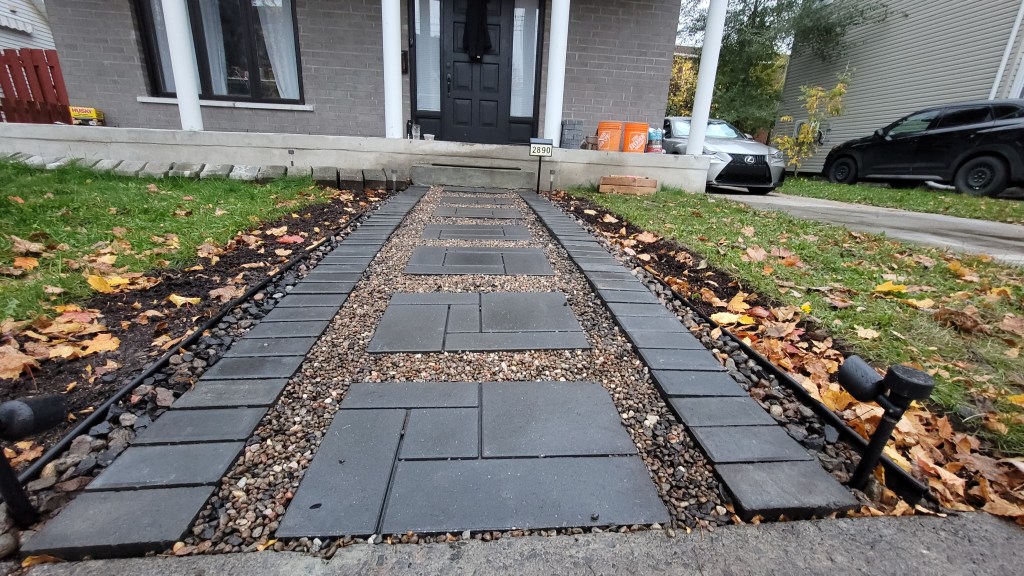
I added some solar lights, but next spring will look into installing low-voltage wiring for proper lights
The above is the completed work. I’m extremely pleased with the results. I learned tons and had fun! Anyone who’s chatted with me for 5 mins August 2023 onwards will for sure heard of my front walkway re-build story, I really find this type of work extremely rewarding 😍
I saved approx. $3000 against the original quote of $4000. Here are the cost totals:
- 2x rental of jack hammer: $240
- 1 ton gravel delivery and river pebbles: $200
- 7x pavers and 4 bags of pebble rocks: $170
- Lawn siding: $70
- 80 bricks: $70
- 8 bags of soil: 4$ per for a total of $32
- Grass seed, 24 tulips, 4 bags of soil $80
- 2x containers of 32 oz glue to secure the river pebbles: $100
- Total: $967 CDN
The serious work started Aug 30, and I laid down the final layer of bonding glue for the river pebbles Oct 28, 2023. 2 months off and on: nights / weekends / vacation. I was better at keeping track of the $ costs, but I would estimate about 8 hours per week, 6 weeks from start to finish, some weeks I was working on other stuff, so about 50 hours total working. I burned some time with re-doing the bricks, having to rent the jack-hammer twice, as well extra time on burying the paving stones. I learned some useful lessons were for the next project
Speaking of, I am already looking forward to my next project will start next spring, and will be a car port. I’ve got to get a permit from the city for that one!
Thanks for reading and have a great day 😃
Owen

7 responses to “The $4k contractor quote that inspired my DIY quest for a new front walkway”
It looks even better now with the pavers down the middle. Going to be gorgeous when your flowers come in, in the spring. Great Job O.
LikeLike
I loved ! Congratulations! 🙂
LikeLike
Looks great! In some ways the learning can be more satisfying that the finished product but this time it looks like win:win
LikeLike
[…] most of 2023, and all of the spring of 2024, DIY/Garden/Landscaping work has been my #1 passion. Replacing my janky front walk, or planting a tree, I love it so […]
LikeLike
[…] The $4k contractor quote that inspired my DIY quest for a new front walkway […]
LikeLike
[…] Front walk-way re-build mid 2023 […]
LikeLike
[…] 2023 I undertook a physically challenging project to demolish and replace my front walk way, you can read about that project here, in years prior, I would not have considered doing this kind of work on my OWEN, for fear of […]
LikeLike