Intro
Outdoor terraces are pretty common around Montreal , Quebec, Canada where I’ve lived since 2019. On a few outings last year, I took pix of the pergola structures with the purpose of attempting to build my own. As with any of my projects, I took my time to research what materials , tools & skills were required
Front walk-way re-build mid 2023
Concrete porch re-paint summer 2024
Hydrangea tree planting spring 2024
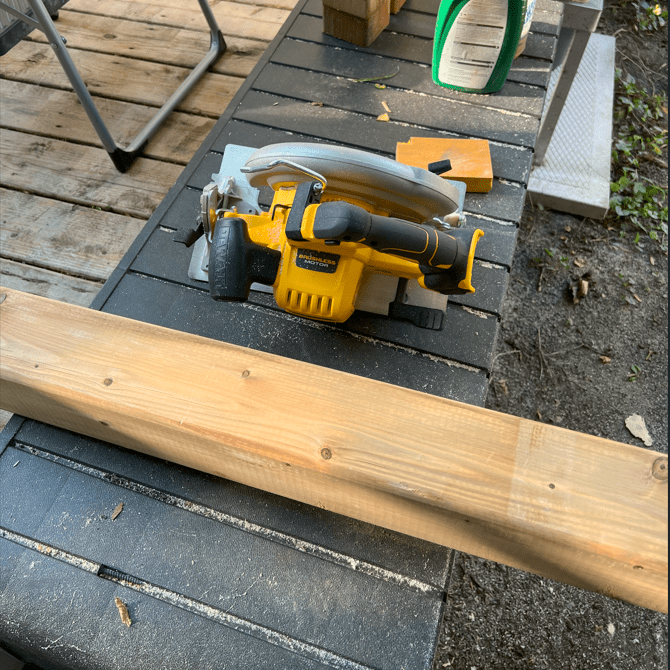
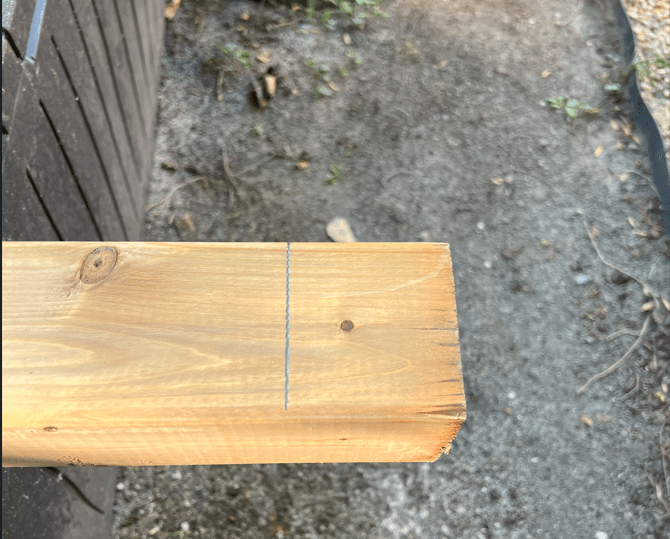
With the case of the pergola, it mostly came down to WOOD, and accurately cutting said wood. From the shed foundation I made in the summer of 2023 for a shed, I’d rate my wood cutting skills as “ok”, but the pergola build involved almost 20 individual cuts, non-precise cuts would be an issue for stability, and long-term durability.
So, in early August, I took some time to practice on some spare 4×4 posts I had from some previous work. I got comfortable marking the cuts with a speed square, lining up the blade and cutting through the 4×4 posts with a greater degree of accuracy than I had in 2023
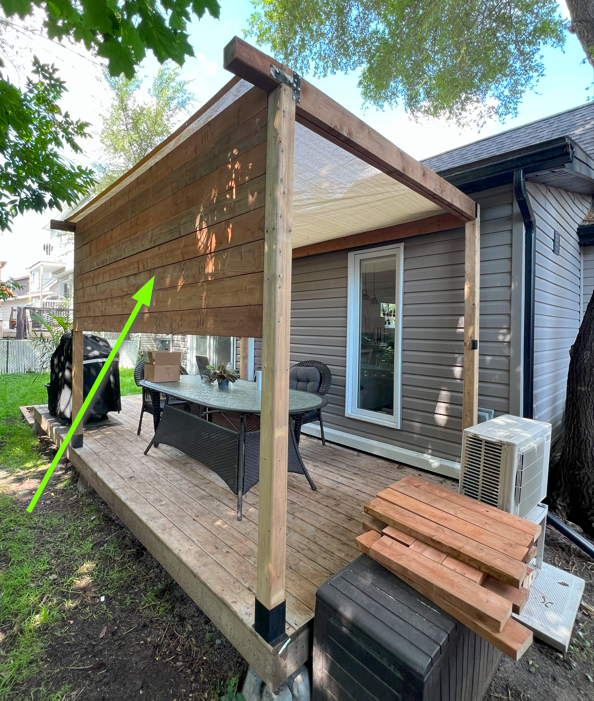
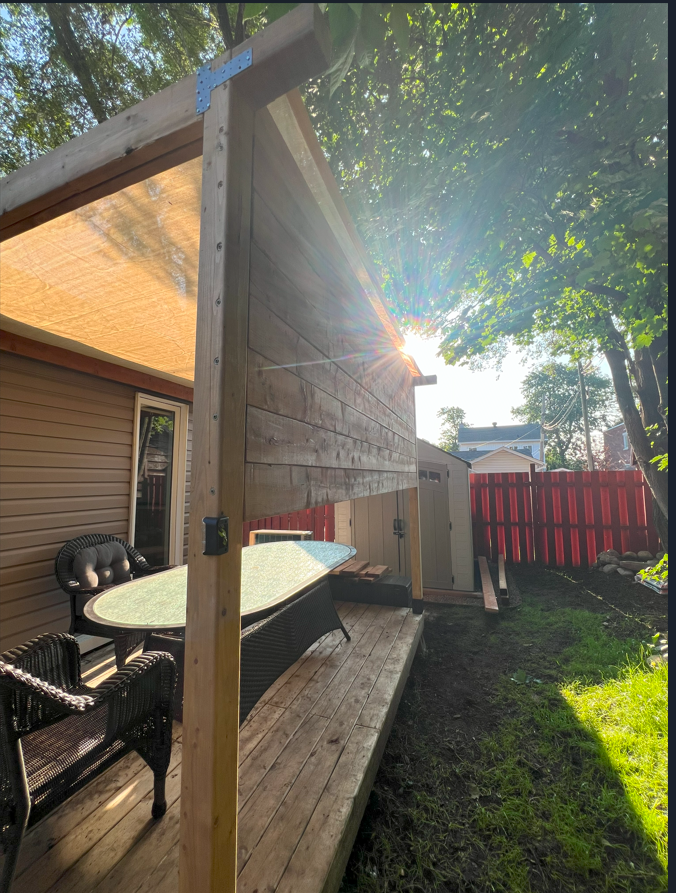
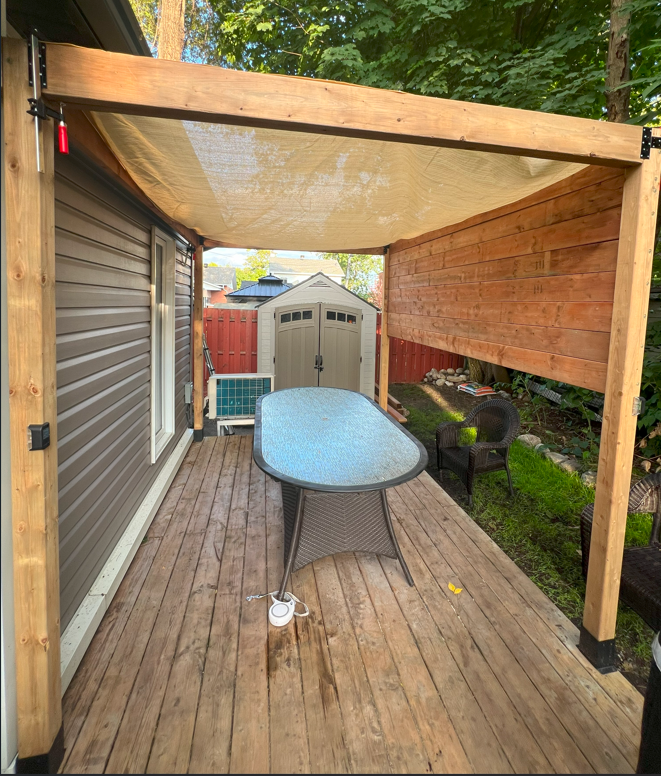
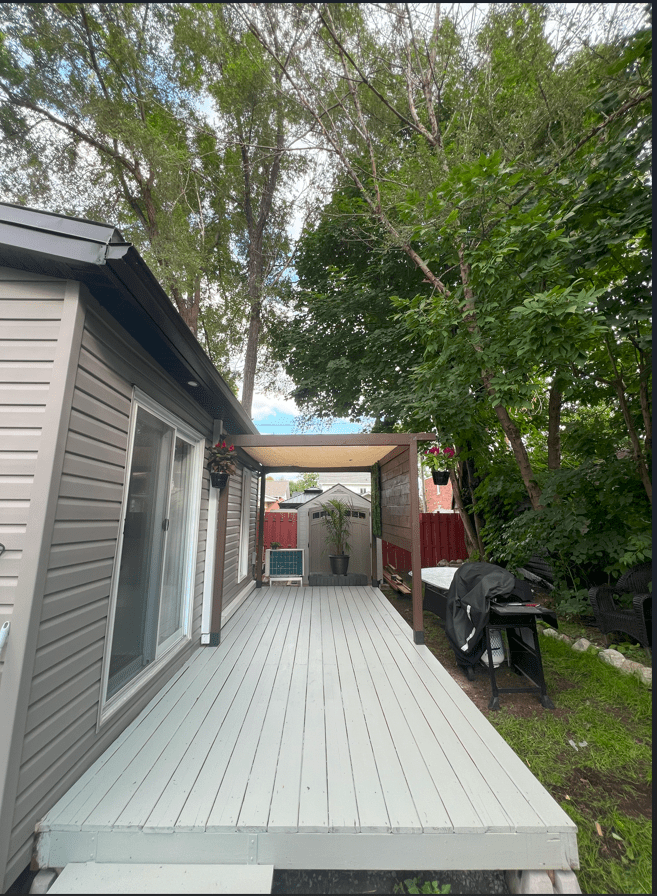
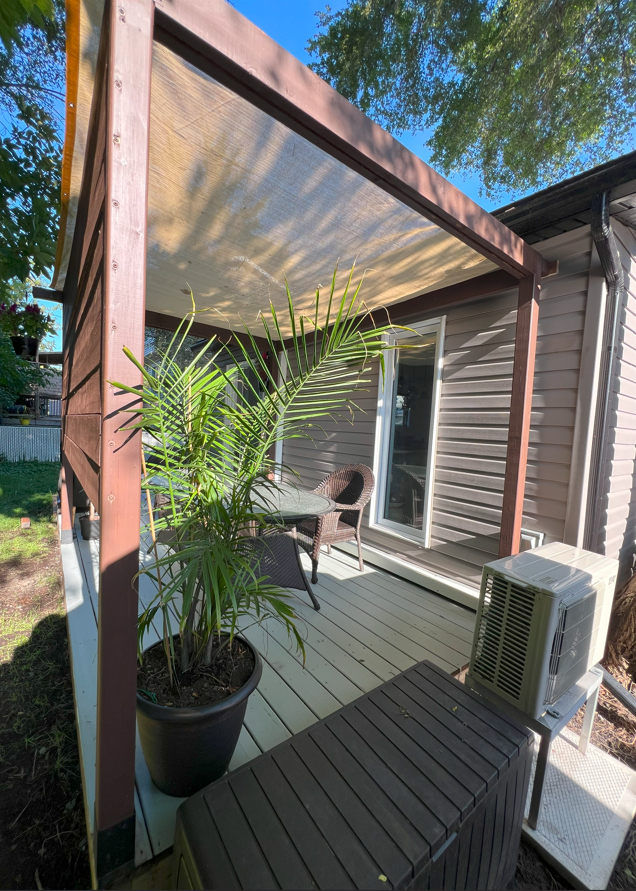
I decided on a simple design, four 4×4 posts in a 10 foot wide, 8 foot deep arrangement. I’d used 2×6 cross beams to create a “privacy wall” between me and my neighbors
With that out of the way, it was time to visit home depot to get the 4×4 posts
Phase 1 – The posts
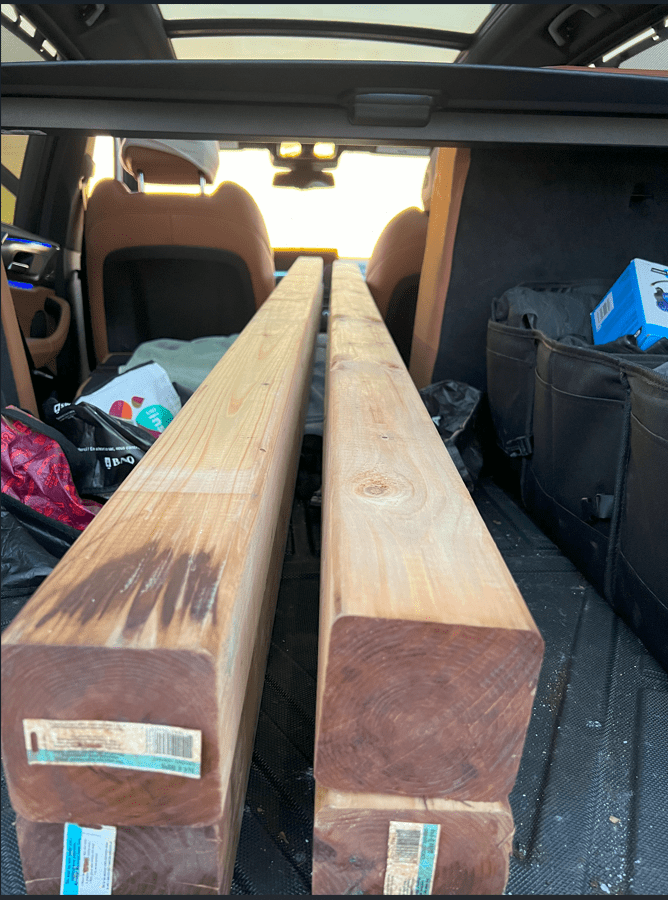
As with my previous DIY work, I learned new things. For instance, not all wood is created equally! I ended up having to return some warped 4x4s I bought
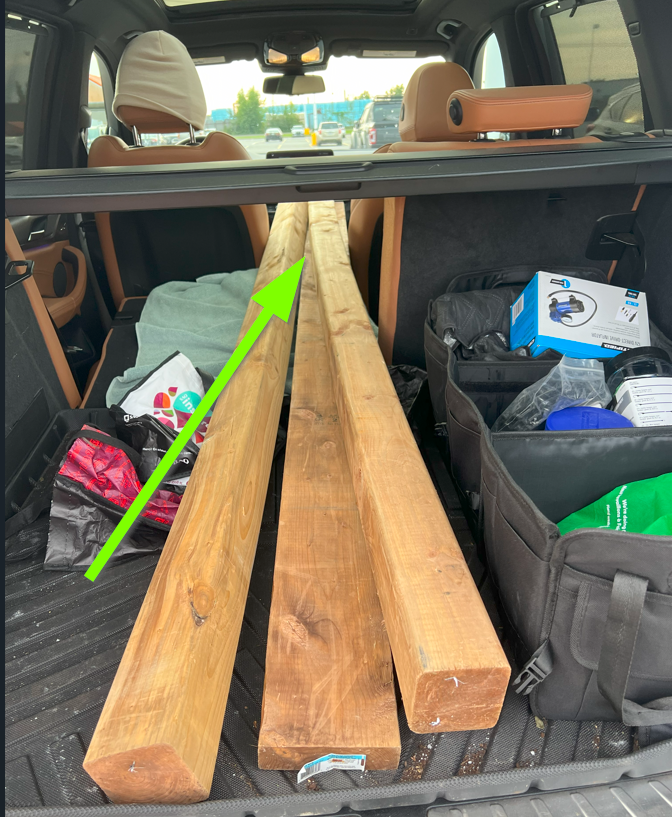
I returned and bought un-warped wood ; shown below. The trick I found, place two pieces of wood next to each other on the concrete floor of home depot, and check that they line-up next to each other from multiple angles
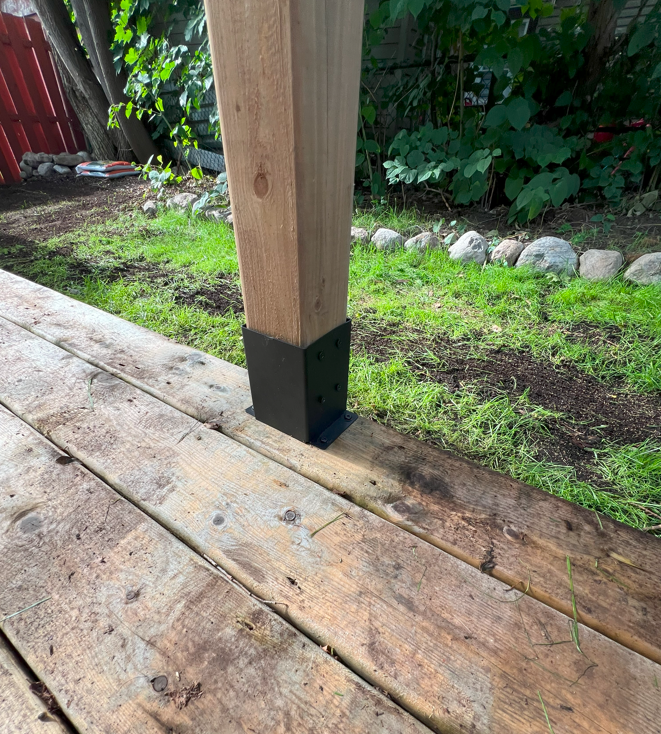
Test fitting the new posts into the Simpson brand strong tie post holders
Phase 2 – The cross beams
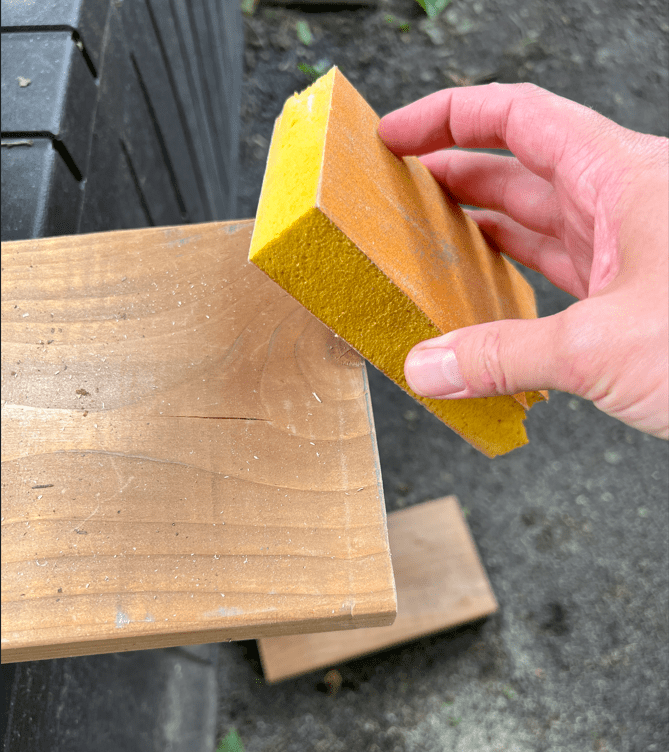
I used 2×6 8 foot length boards to connect the outer-most 4×4 posts. Each piece of wood was cut, sanded, then treated with anti-rot paint ; I didn’t actually taste test it :p

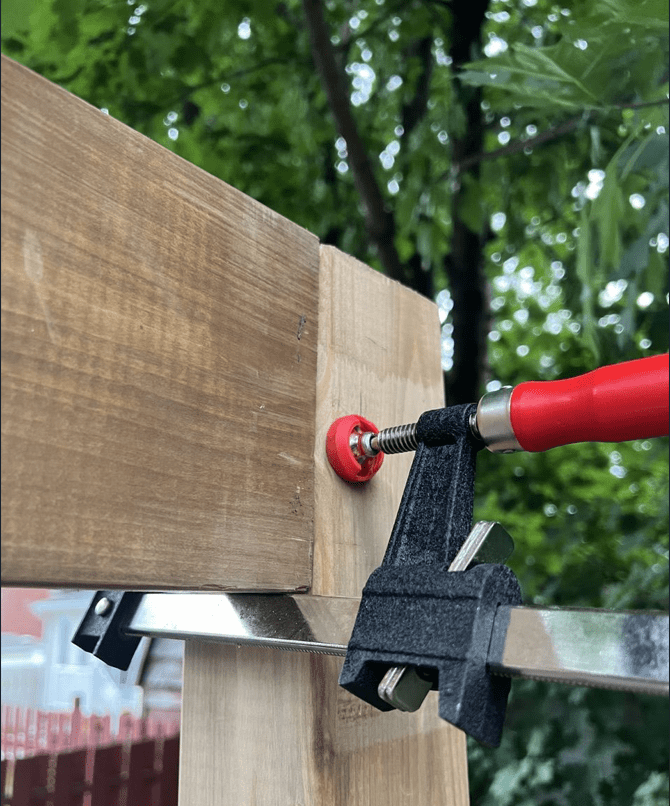
I ended up doing %100 of the work myself. I had friends offer to assist, but I was often working odd hours, so it was difficult to coordinate with them. As such, every time I needed a second pair of hands, I used clamps 🙂

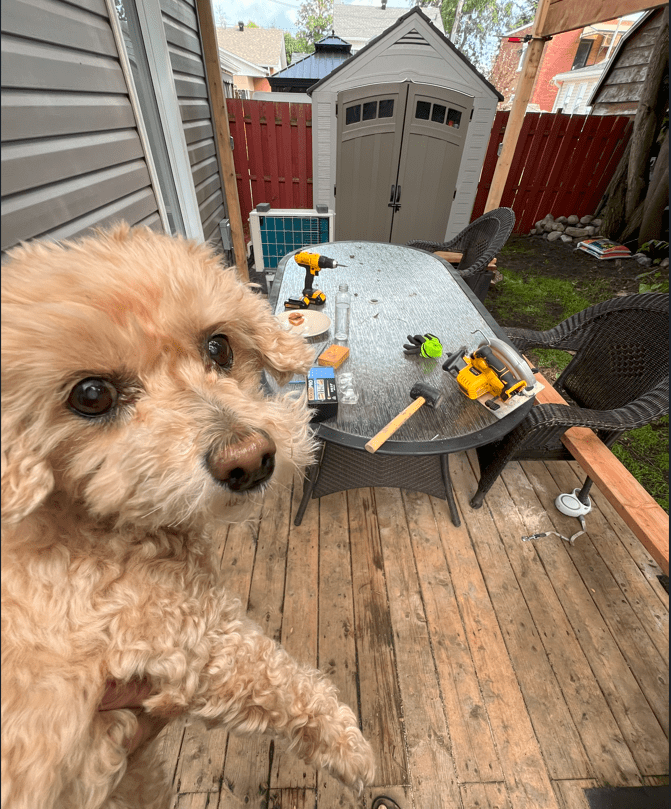
My beloved dog coffee bean was there to supervise only 🐾💛
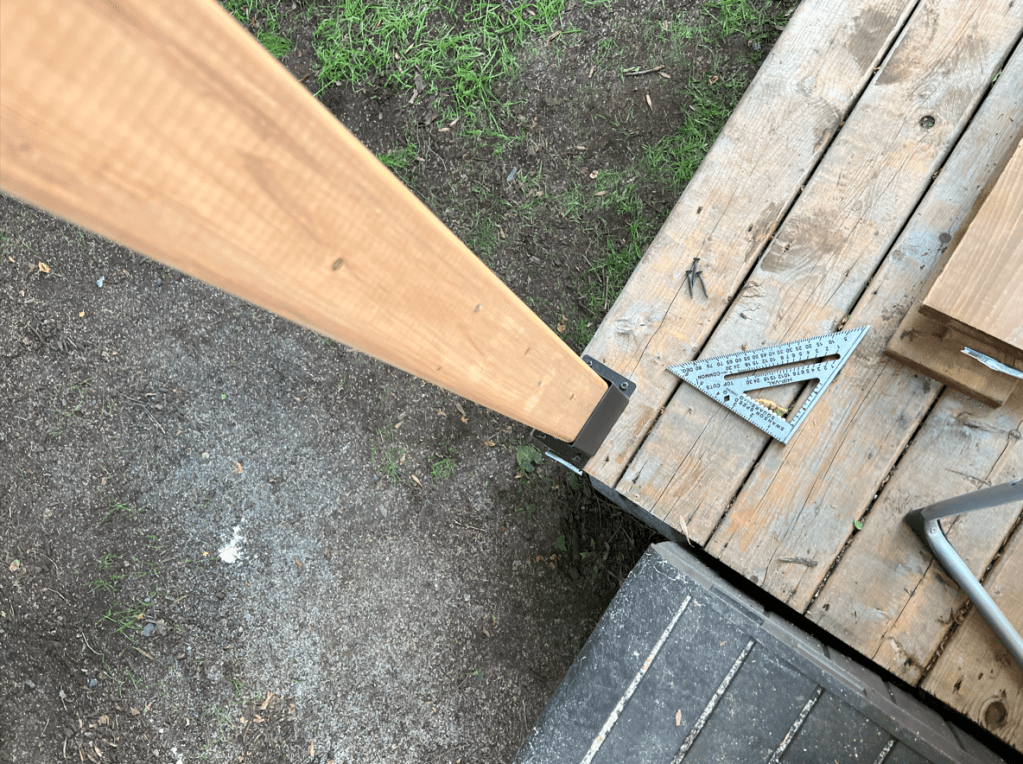
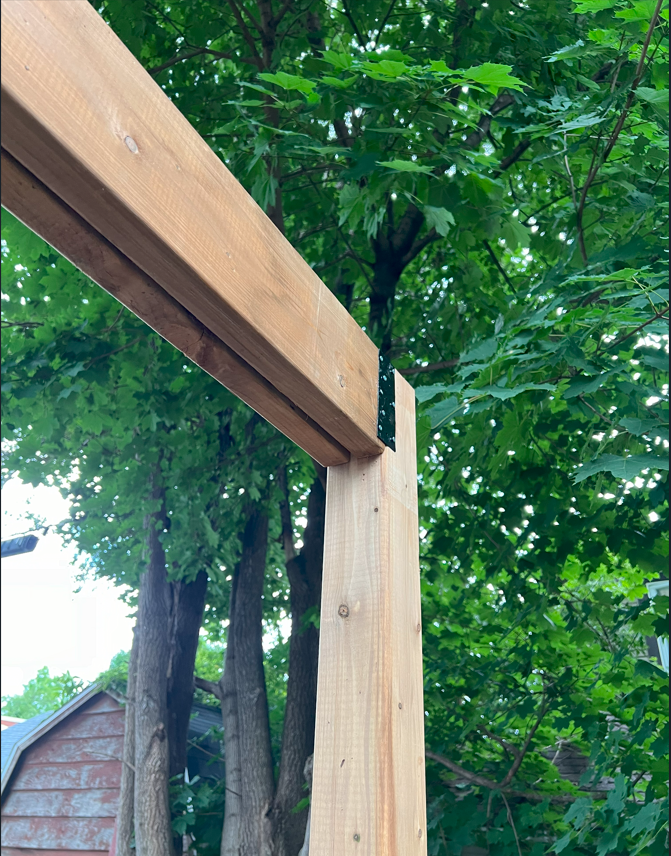
If I was doing this again, I’d use a 2×6 Simpson strong tie to hold both pieces of wood, instead of the mounting method I used shown in the pic
The base frame put together
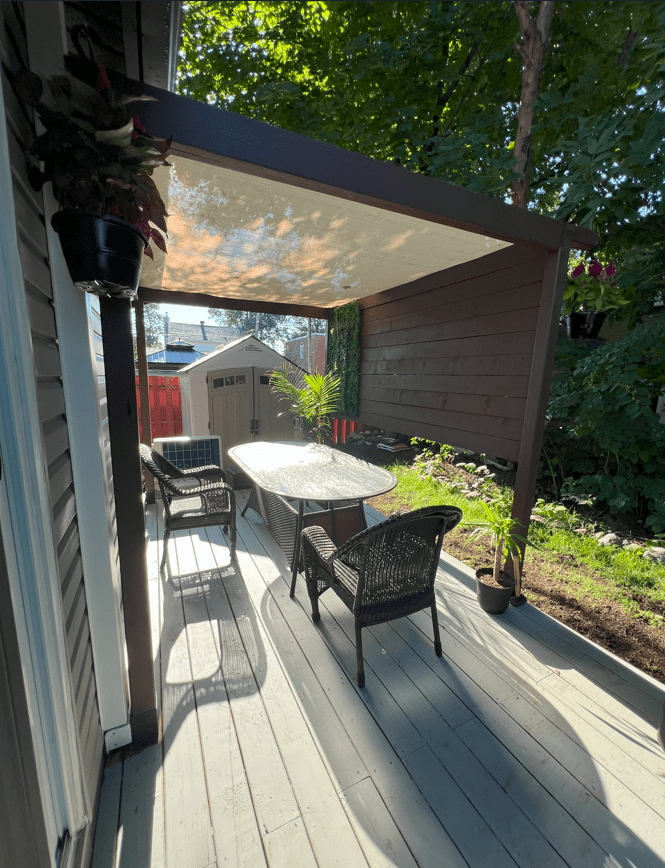
Privacy wall added, the idea here, was to block the view to my neighbors, they are rarely outside, and seem like nice people, but I would rather not have eyes on me when I’m outside on the deck having my morning coffee / etc. The 2×6 boards were cut to fit into the pergola frame and attached with 5/16 x 6″ length deck screws (big bois!)

I left room towards the bottom to clear debris, fall leaves, and winter snow
Phase 3 – The net
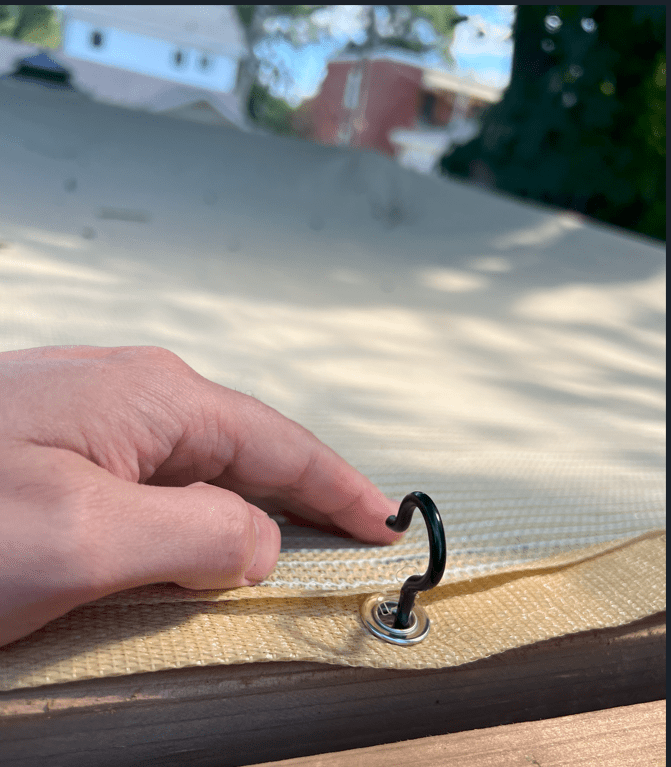
The net is used to provide some shade and catch leaves/debris from the many trees above my back deck
My choices here were simple, light level blocking and color. I choose “gold” kind of at random, as an added bonus – my kitchen which has a window to the back deck – now glows a light gold when it’s sunny out, which is very nice. I chose 90% light blocking, so i can sit outside without being blinded by the sun , but still see some of the sky
Here was the product I chose: https://www.amazon.ca/gp/product/B0CGJHK8MR/ref=ppx_yo_dt_b_search_asin_title?ie=UTF8&th=1
I had to reposition / re-install the net a few times, as it was sagging. In the end, the trick was to use small hooks that can be easily be removed in the late fall before the snow comes. I could leave the net in place, but it would more than likely be damaged during heavy snow-fall times here in Montreal
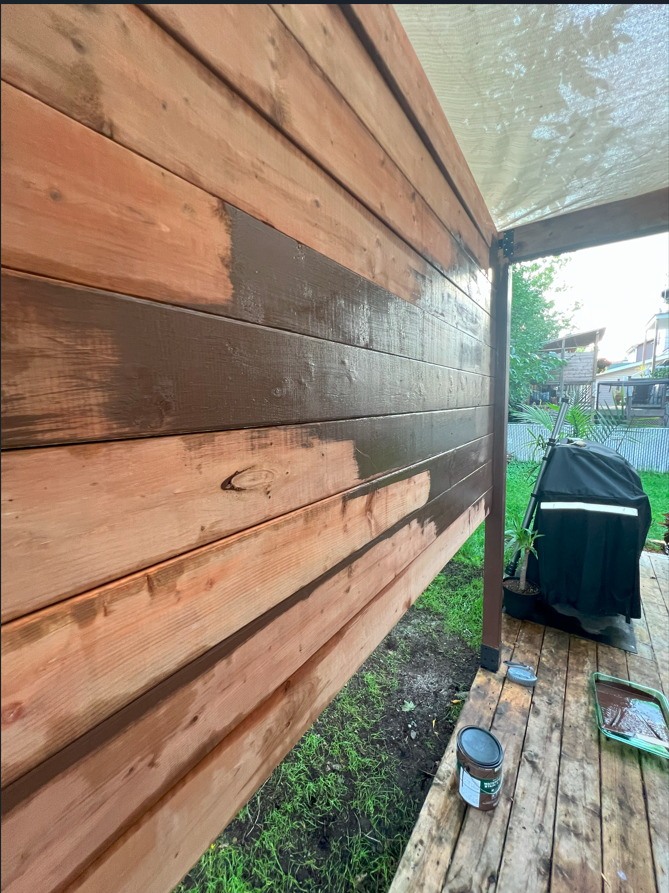
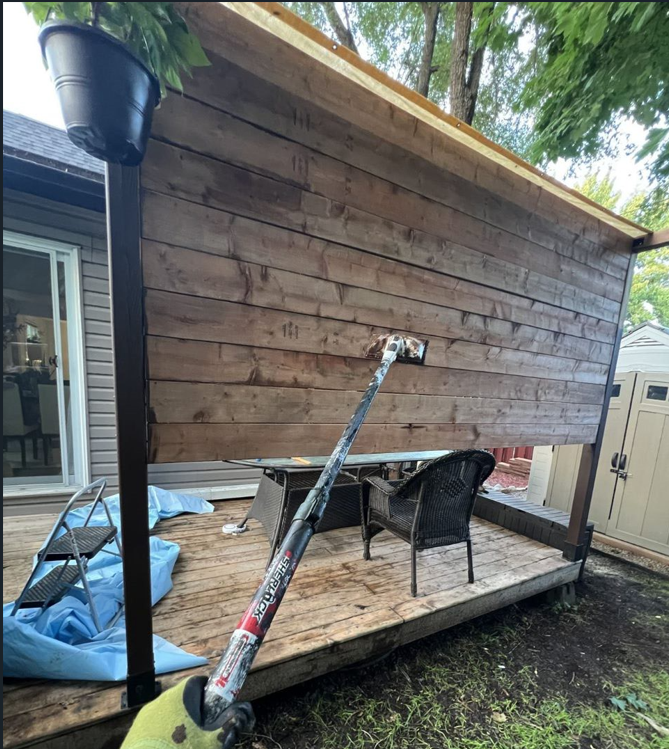
Phase 4 – Pergola and deck staining
My ability to see precise colors isn’t great. Give me a set of ten shades of brown/black/gray, and I’ll struggle. So, I out-sourced the color choices for the pergola structure and deck painting to friends , neighbors and the friendly staff at home depot
Behold “The paradox of choice”

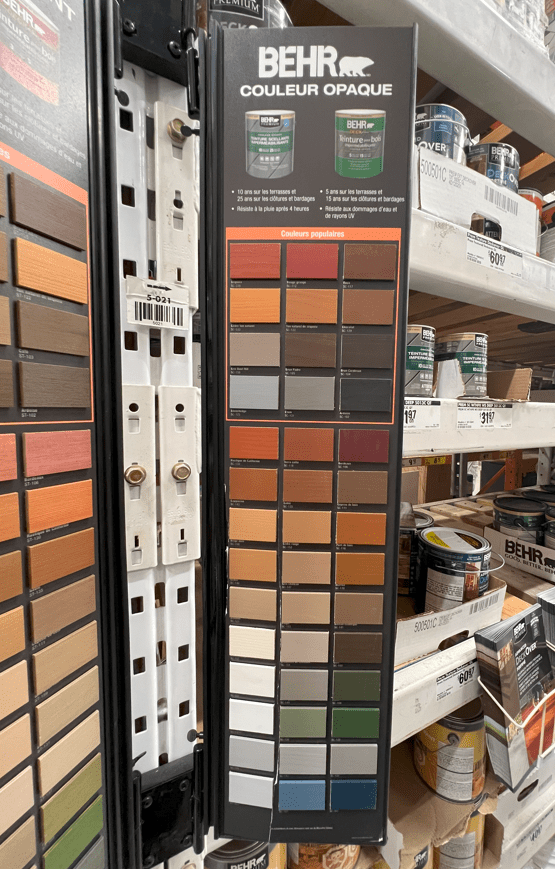
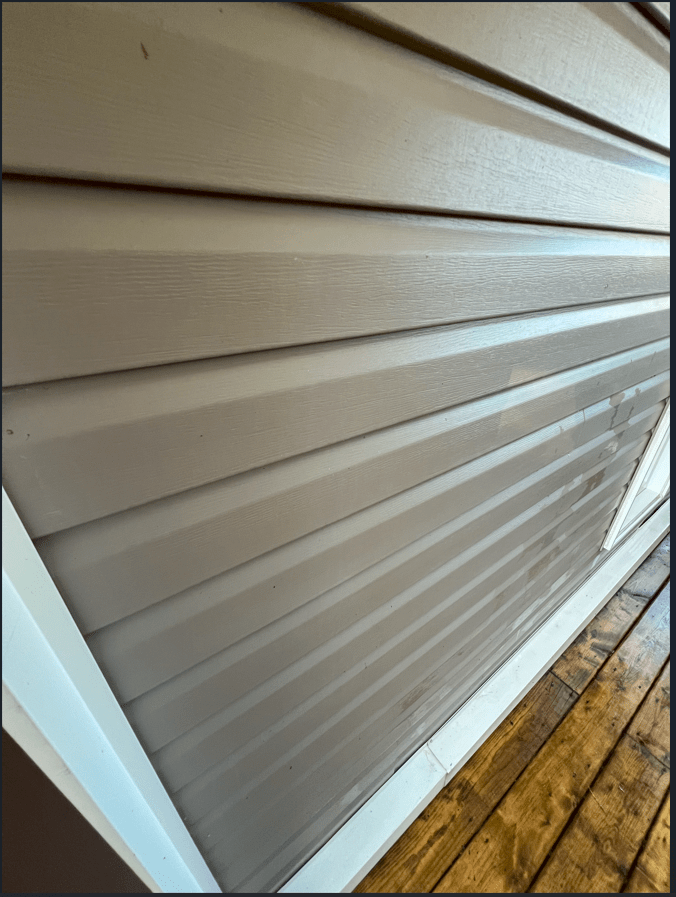
in the end, I chose “padre brown” for the pergola, and a ‘light ‘harbor gray’ color that matched the vinyl siding on my house
Moving on to the deck staining, here’s the gray vinyl siding on my house against the original worn-out color of the deck
Pressure washing before staining process
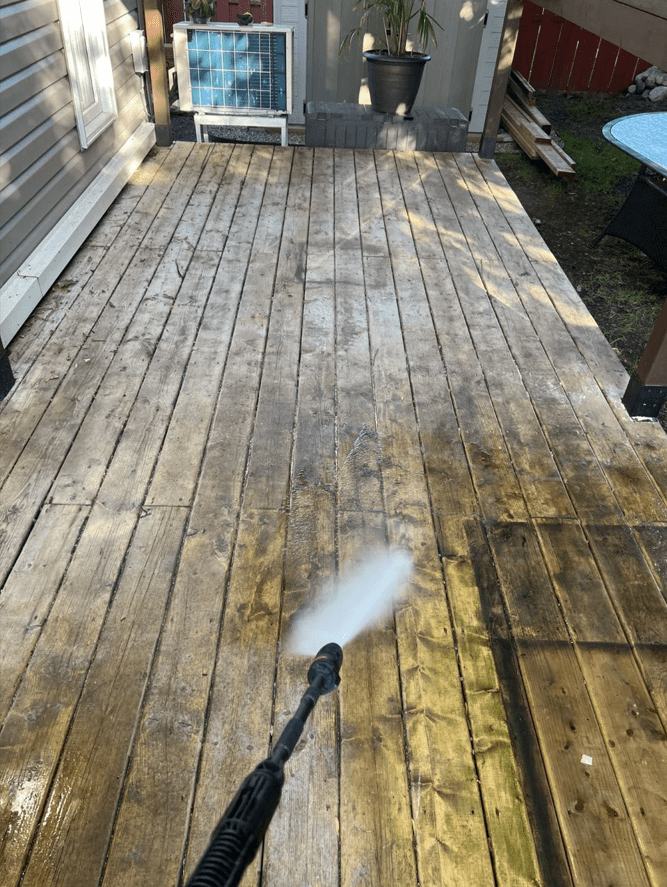
All clean
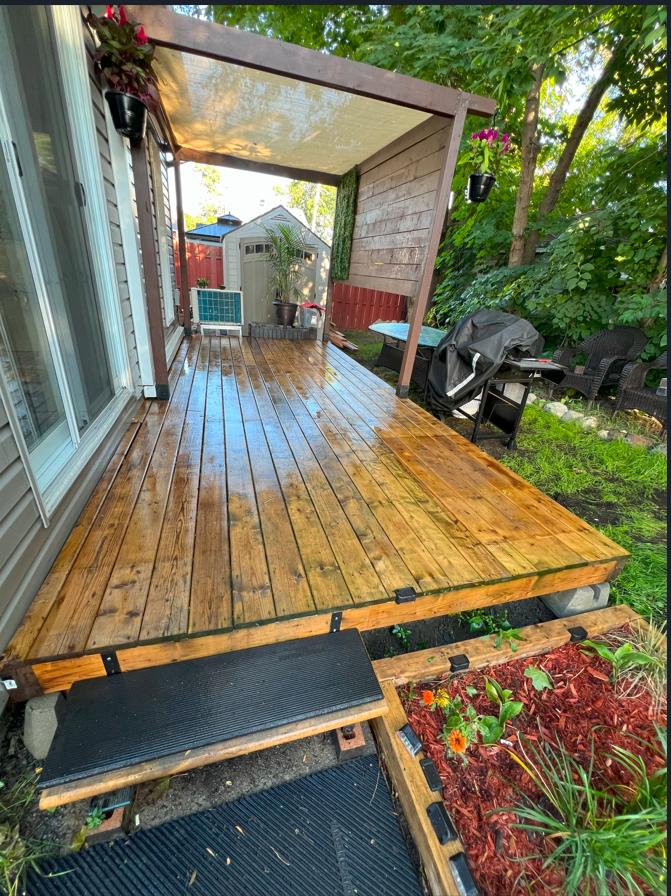
I came back at night to do the staning, as I said, i work odd hours on these DIY projects
I did the second stain coat the next day
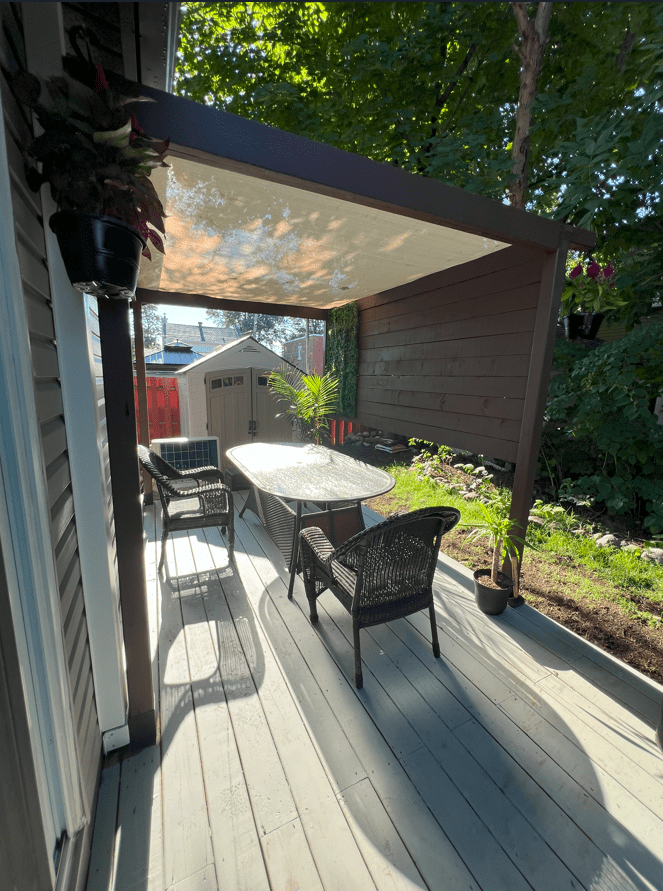
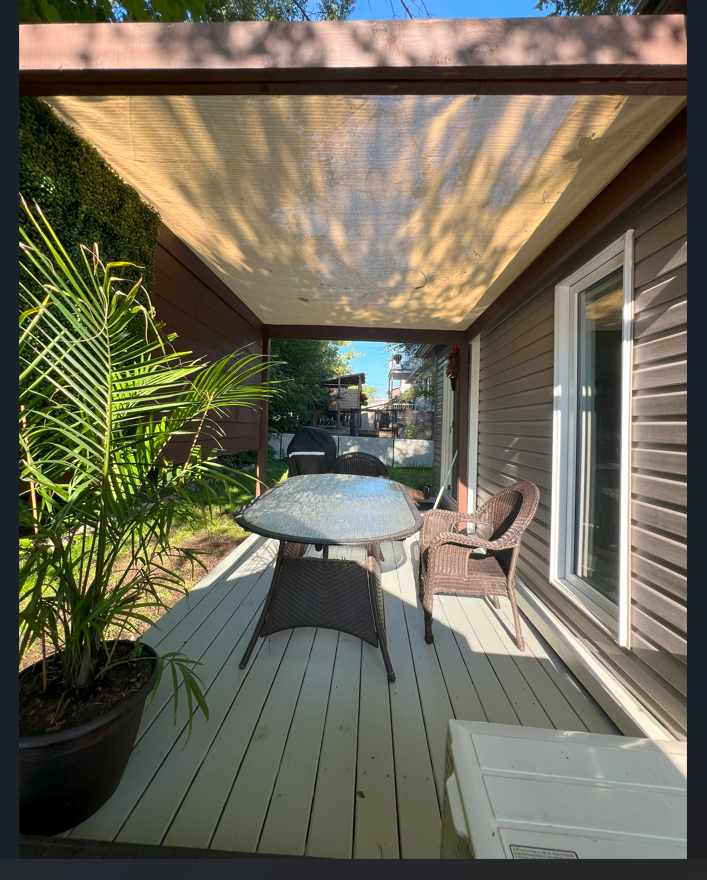
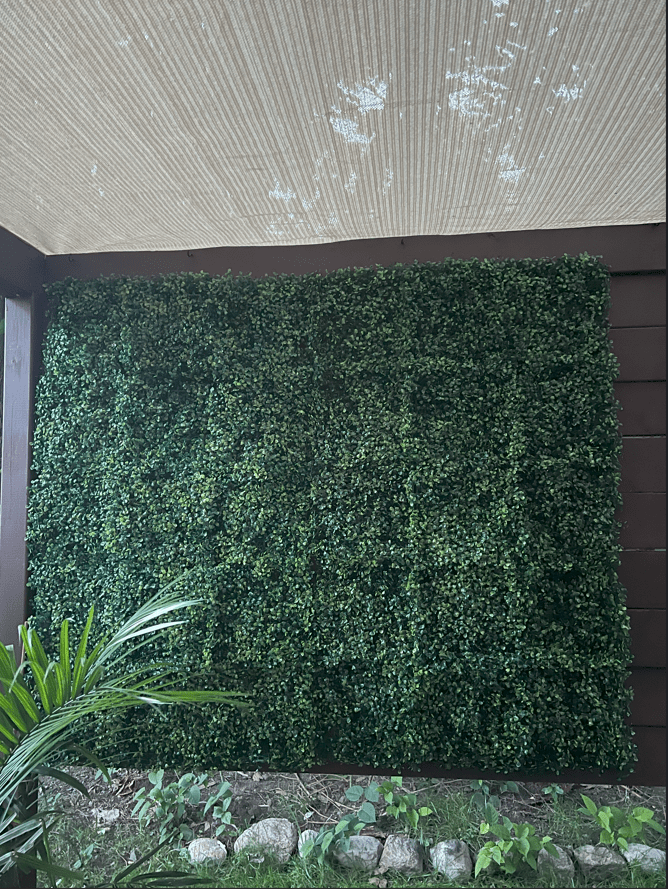
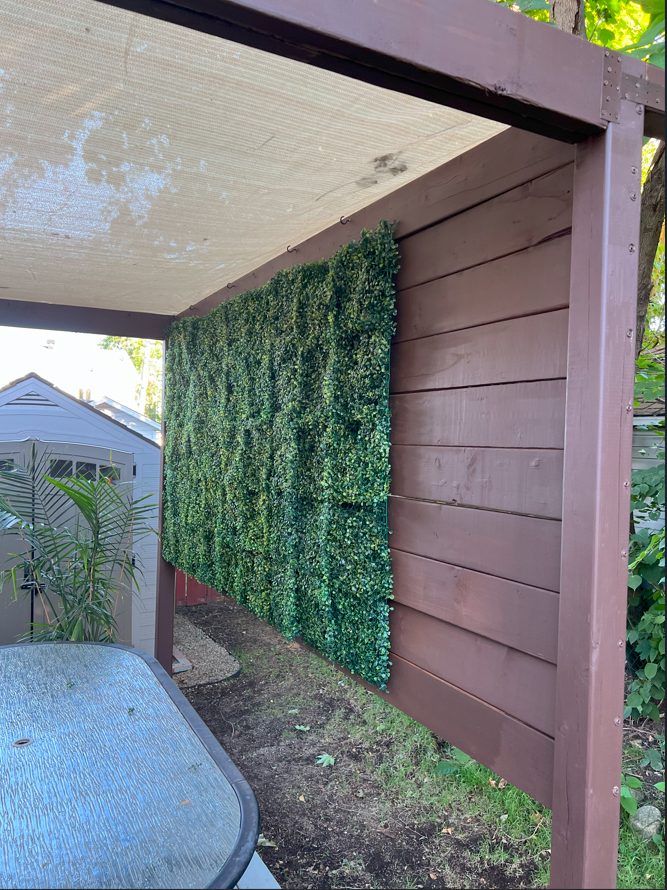
Phase 5 – Decorative plant wall
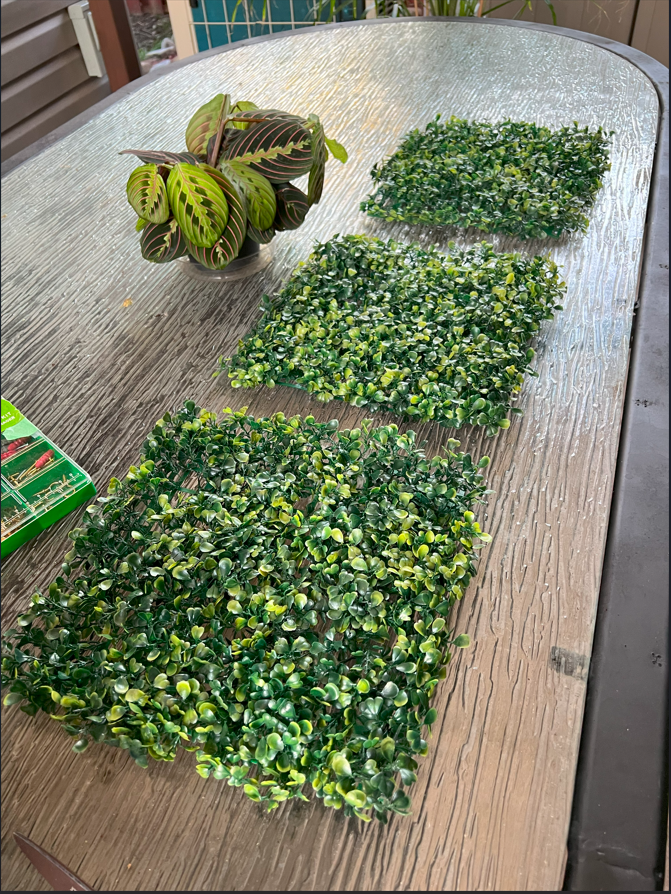
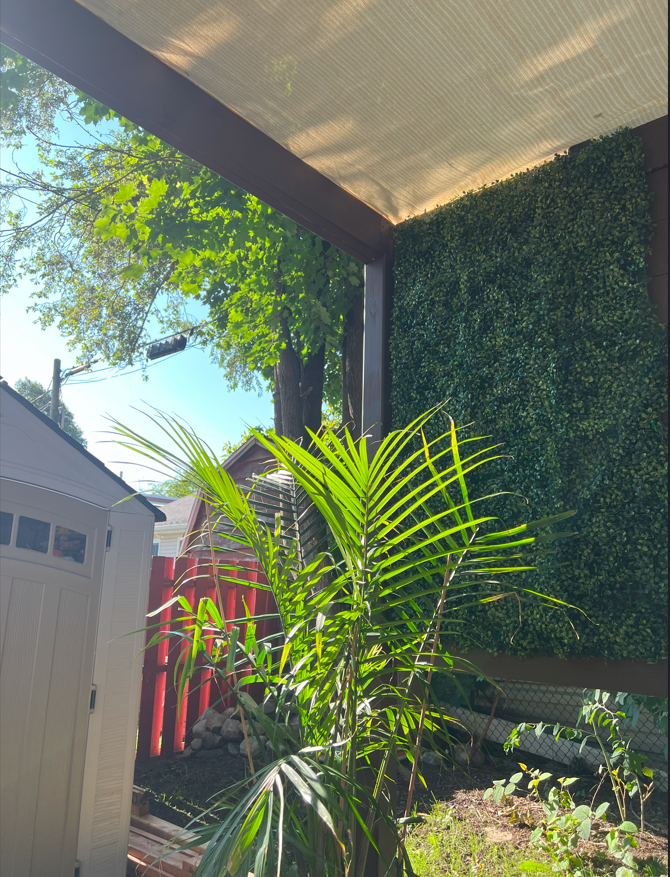
Inspired by a “plant wall” I saw on a dinner outing earlier in the year, I bought some fake shrub squares from Amazon to attach to the privacy wall. Originally, I just wanted partial covering, however, after I installed it, I ended up buying two more sets of panels, each square is 10×10 inches in size, ten squares per box
Santa’s little helper

1 panel installed
2 panels installed
View from inside my kitchen
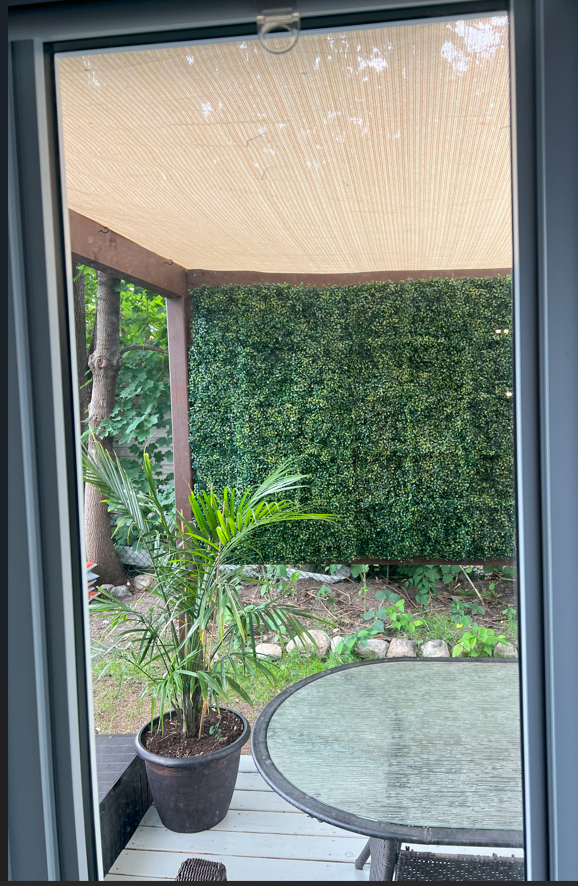
3 panels
Wrap-up / tool holder frame
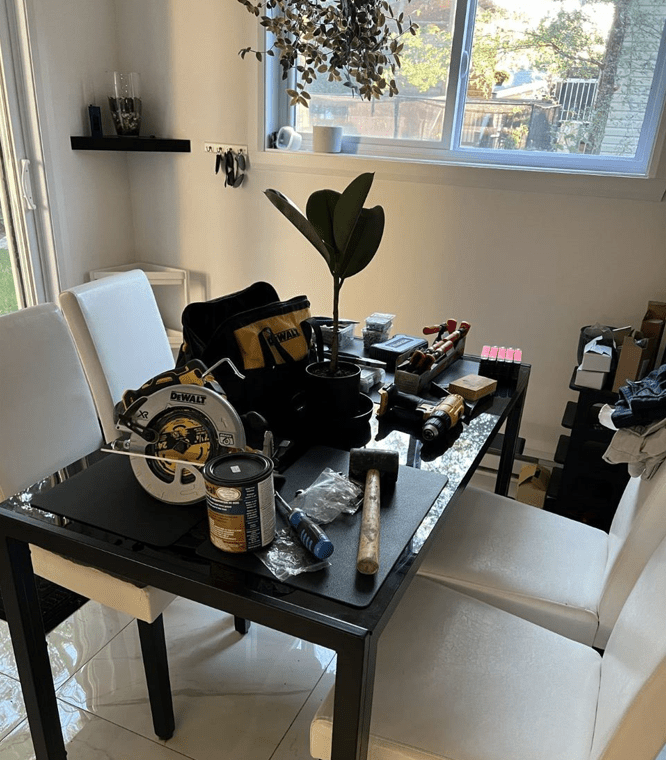
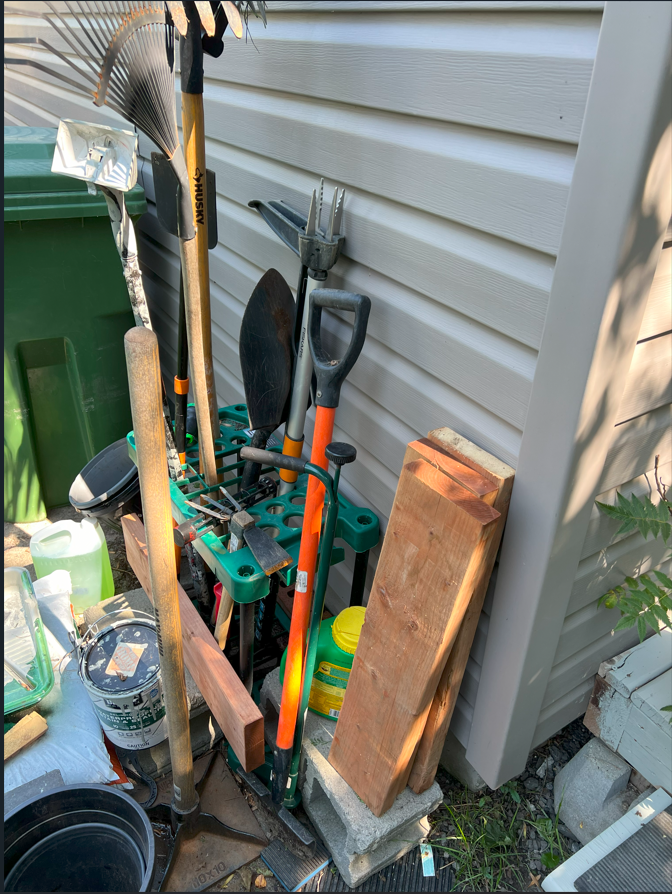
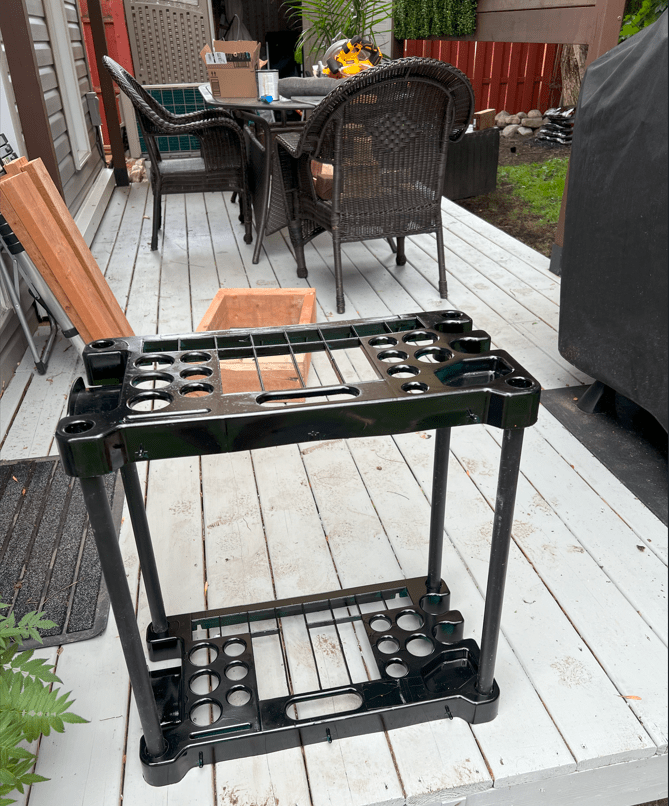
Despite the simple design, there’s a fair amount of tools required to get ‘er done! My kitchen table was a temporary storage area for the tools
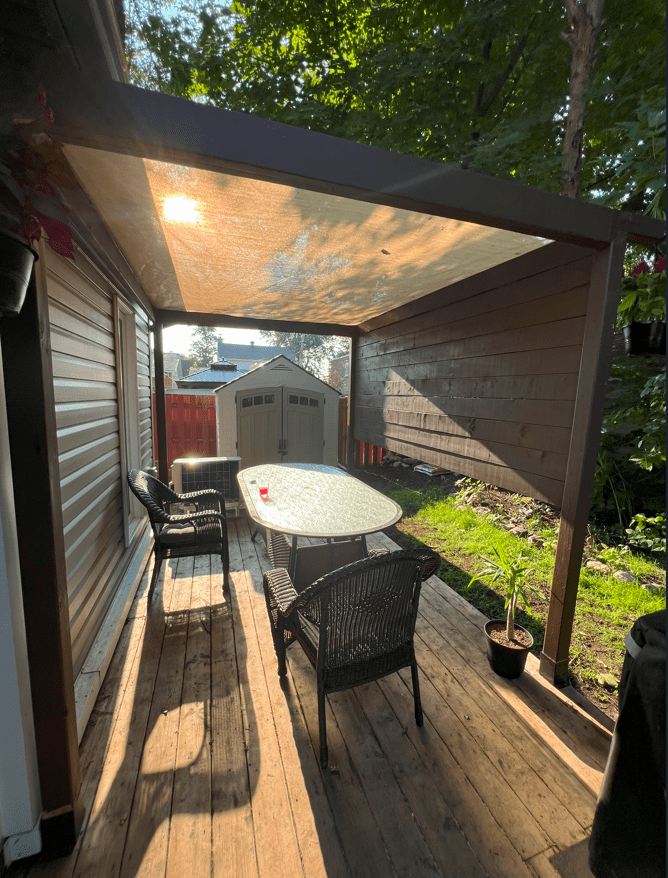
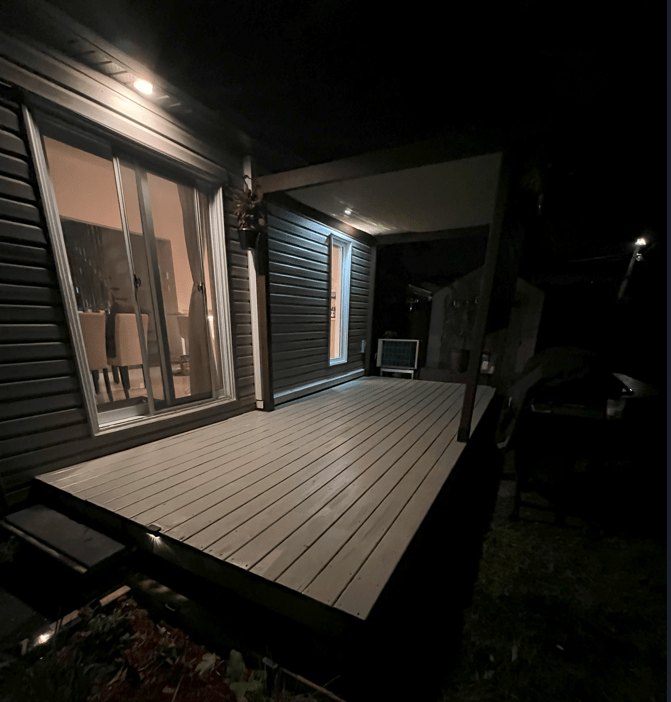
With the work completed, I’m starting each day on my back deck for my morning coffee. I’ve achieved everything I wanted with the work. The total cost was about $600, mostly wood and paint.
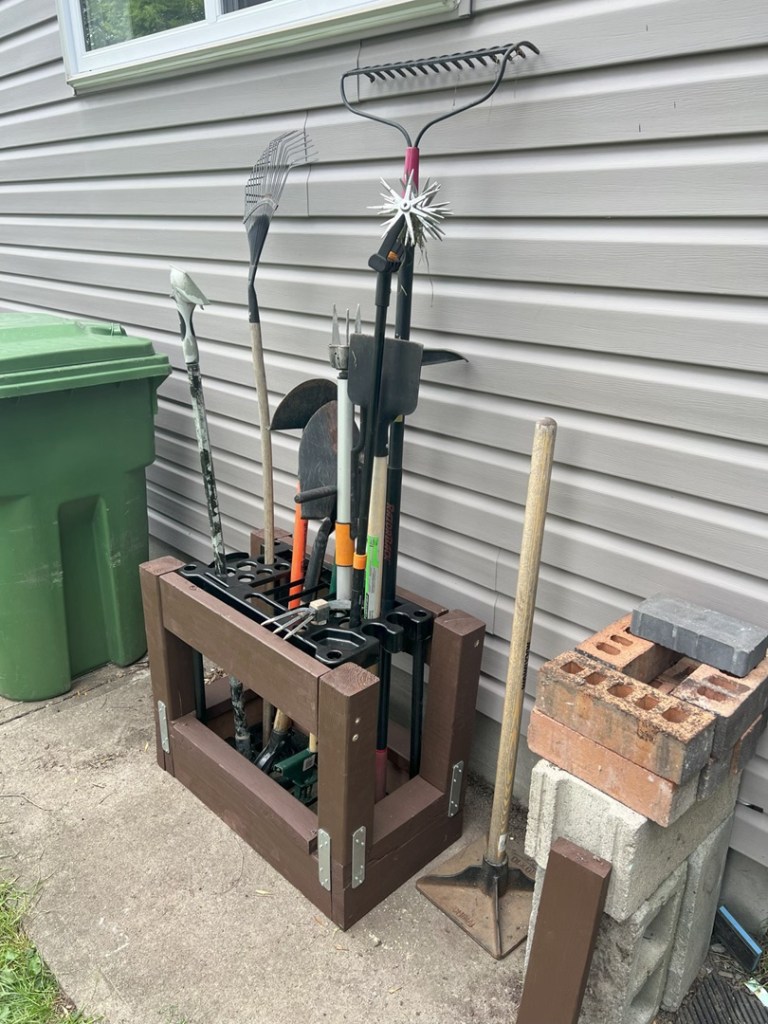
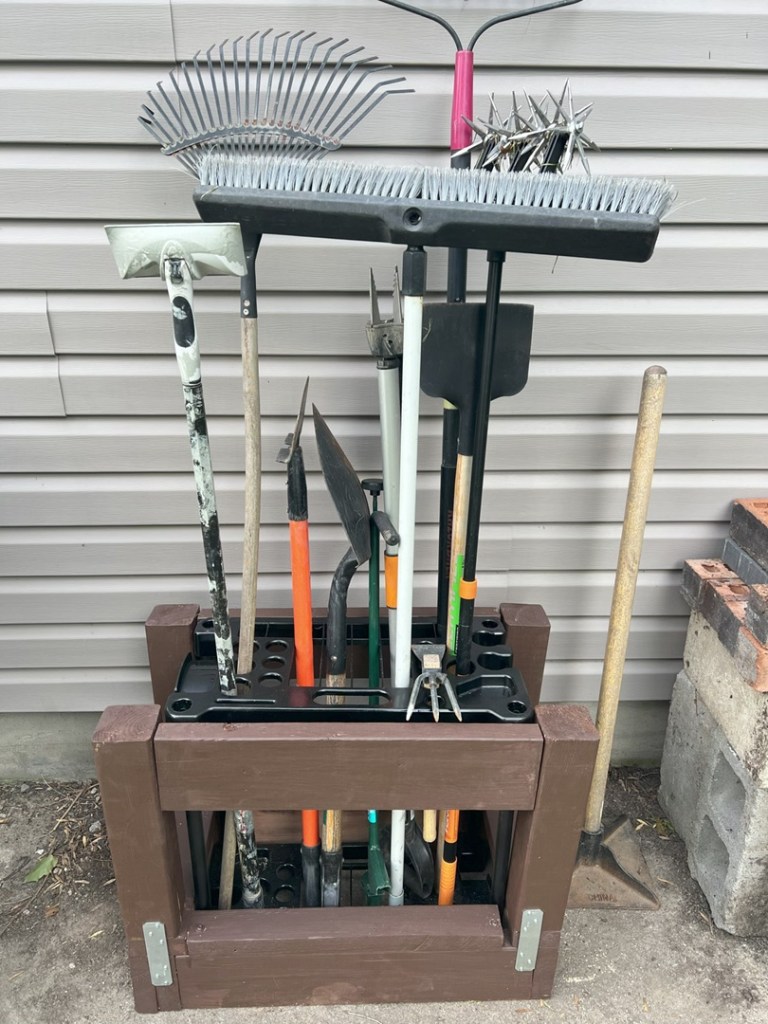
When done, I had lots of spare wood , brown paint stain, mounting brackets and screws. So, I took an existing plastic tool holder I had purchased from Amazon at the beginning of the summer to hold my large collection of yard tools. However, on usage, it would tip over !
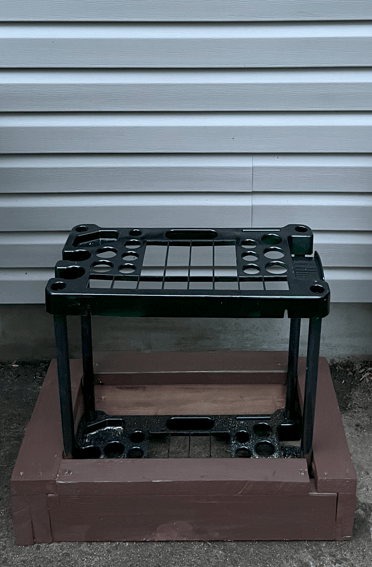
Here’s the before with a few base pieces of wood in place, the original unit was black plastic rods connected to the top green base, there are holes for the various tools
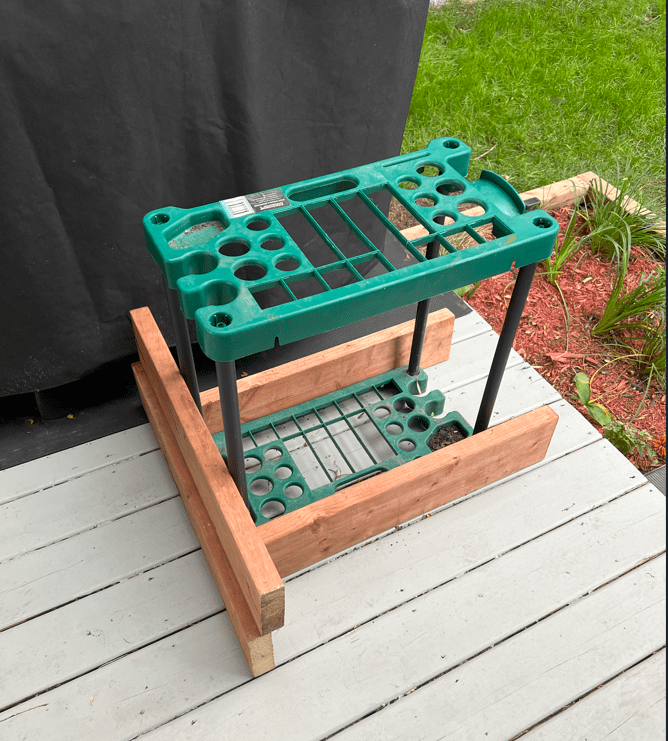
Spray-painted black
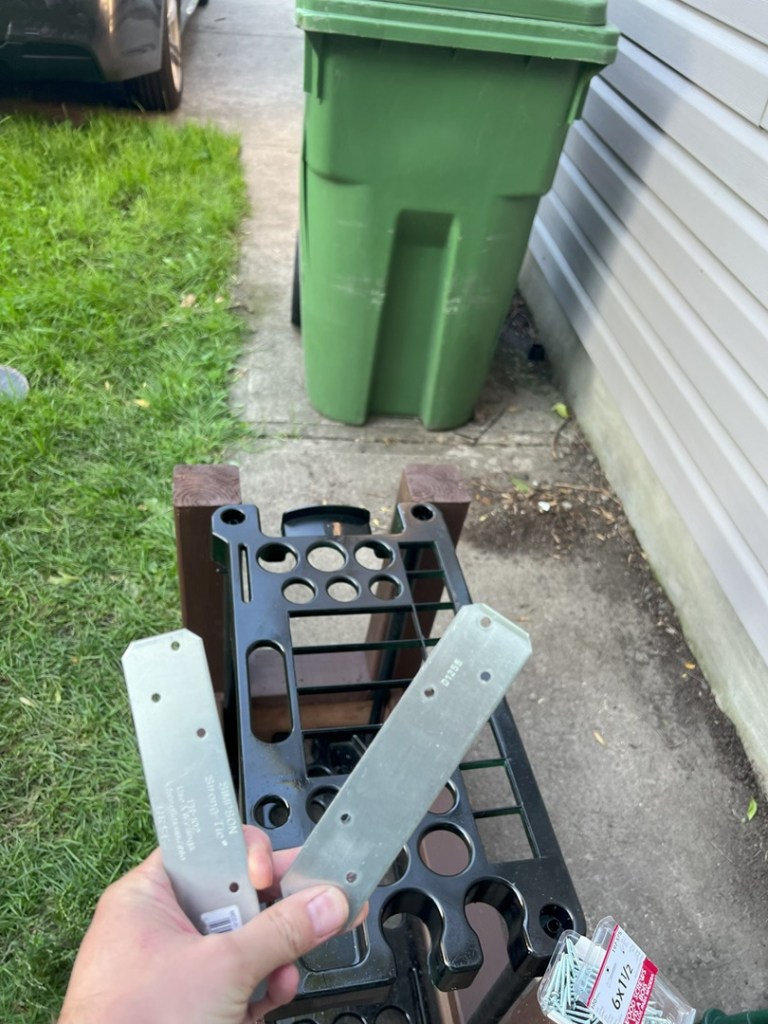
Installed into base frame
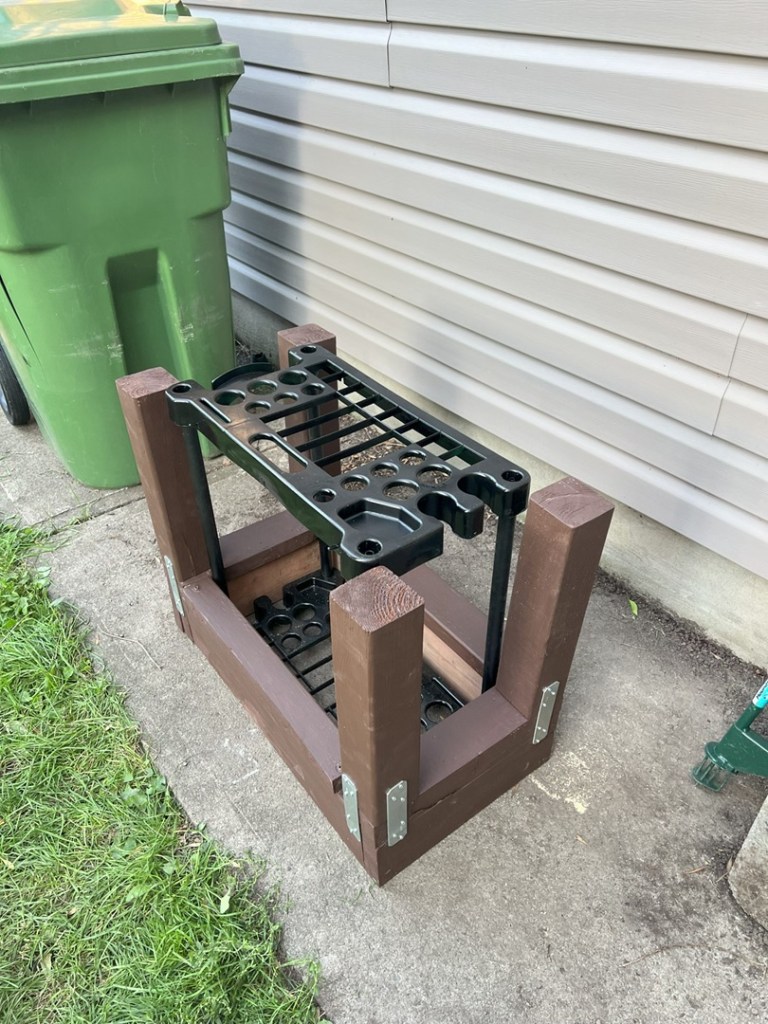
Tools in place, but not quite sturdy enough, time for more WOOD!

Finally stable 🙂
Thanks for reading 🙂
Owen in Montreal
