INTRO
Trusted Platform Module (TPM) chips went into common usage in the early 2000s when the Trusted Computing Group (TCG) was formed by Intel and other companies to enhance hardware security by providing a secure environment for cryptographic operations and secure key storage
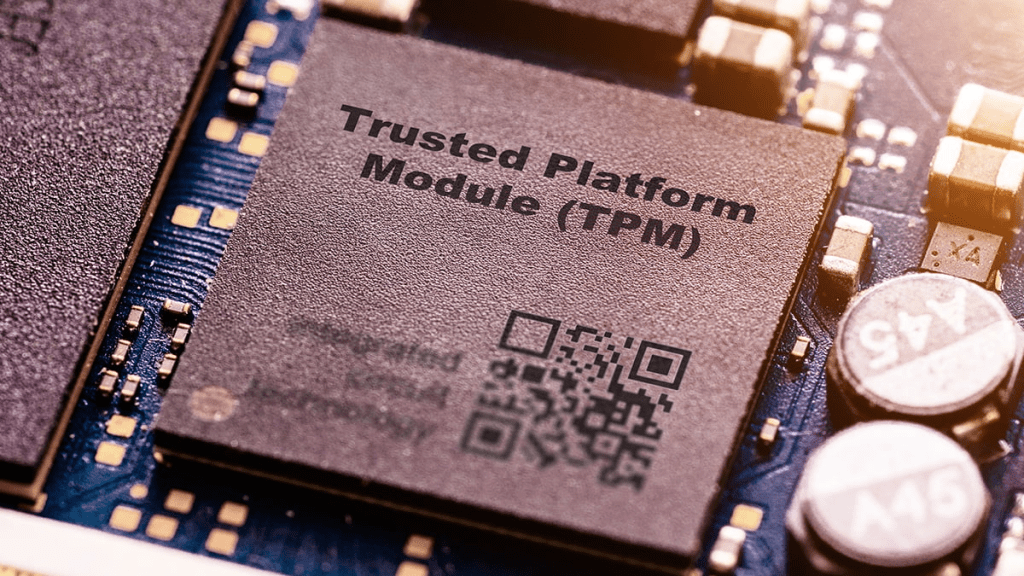
TPM chips typically measure about 1 x 1 inch or smaller, if you weren’t looking for one, you wouldn’t even know they were inside your vSphere ESXi host
Basic Functionality When Installed in a Computer
When installed, the TPM chip provides a secure environment to perform cryptographic operations. Its primary functions include:
- Secure Key Storage: TPM securely generates, stores, and manages cryptographic keys, offering protection against unauthorized access.
- Hardware-based Security: It enhances system integrity by measuring the boot process (known as “Platform Integrity Measurement”) to ensure that the operating system has not been tampered with.
- Secure Boot and Attestation: TPM can verify the integrity of hardware and software, providing evidence that the system has not been altered, which is essential for secure boot processes.
- Encryption Support: It offers hardware-level support for encryption algorithms, allowing for secure storage of sensitive information such as passwords and authentication tokens.
Remember the doomed Windows VISTA in 2007? That marked the first mainstream OS that a TPM pre-req in order to be installed, though, there were work-arounds
Windows 11 being the second OS where TPM 2.0 (from 2014) was marked as mandatory
| TPM Version | Release Date | Required By OS | OS Release Date |
| TPM 1.2 | 03/2006 | Windows 8.1 (for some editions), Windows 10 (for some editions) | 10/17/2013 (Windows 8.1), 07/29/2015 (Windows 10) |
| TPM 2.0 | 10/2014 | Windows 11 (all editions, required) | 10/05/2021 (Windows 11) |
This post will focus on TPM 2.0 and vSphere integration. While TPM 2.0 has released in 2014, it’s still an optional add-in card on all the major OEMs (Lenovo, Cisco, Dell, HPE). What does this mean? As an EUC (VDI) person working on a vSphere implementation, you might not have the crypto chips required to deploy Windows 11
Do you have a TPM?
These little fellas are located in different places on different server hardware
DELL
I’ve got a Dell R640 (see related post), I bought it October 2025. The eBay seller forgot to include the TPM 2.0 chip, so he shipped it post sale, I installed it here (Pic taken from STH, thanks, Patrick)

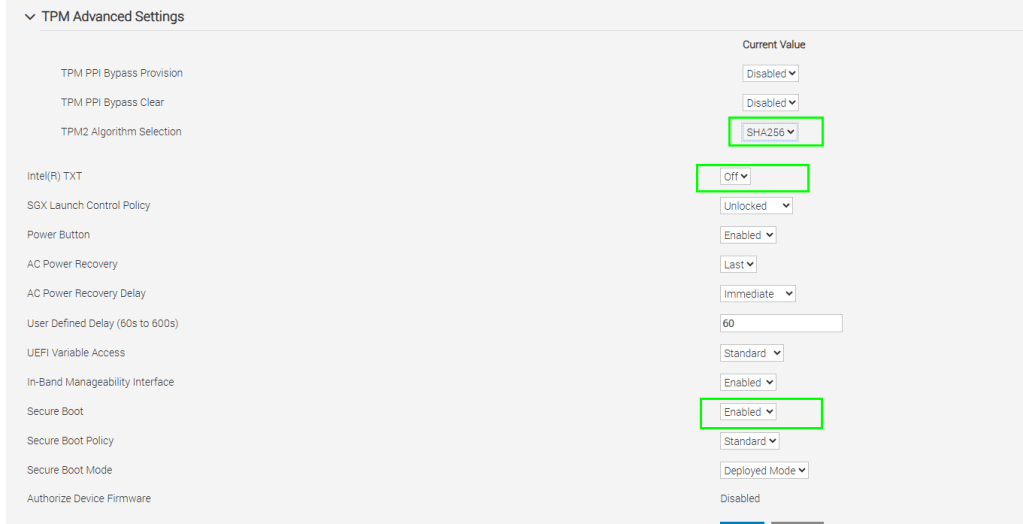
NOTE! Once it’s installed, it doesn’t automatically get activated, here are the steps to provision within the Dell server BIOS so that ESXi detects it
- Launch iDRAC or connect to your Dell series server via KVM or crash cart then navigate as below: CONFIG > BIOS SETTINGS > SECURITY
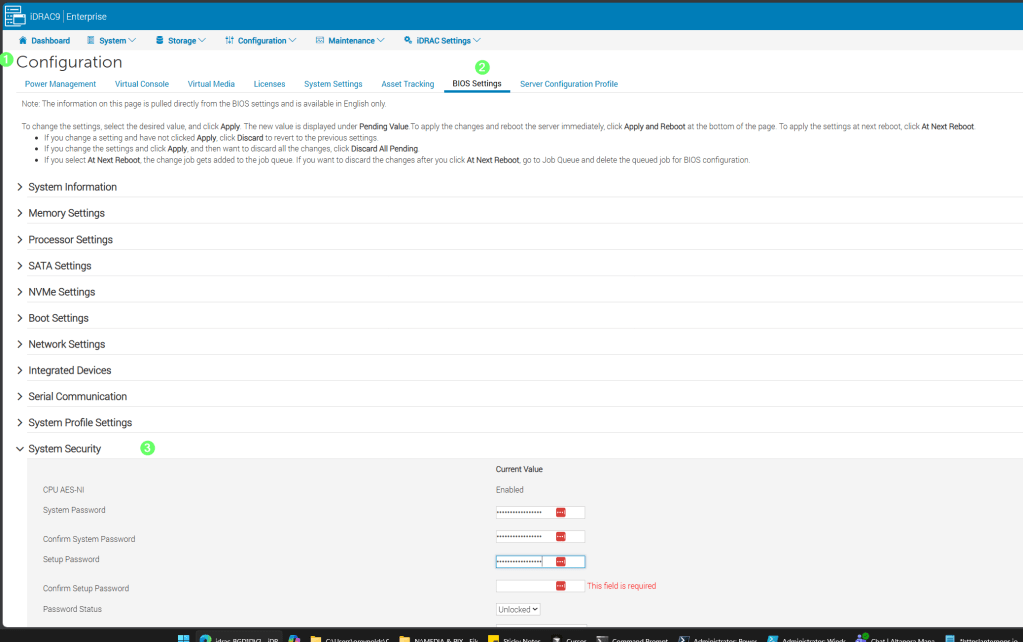
- TPM Security = On
- TPM Hierarchy = Enabled
- As well, set SECURE BOOT = ENABLED where you see it

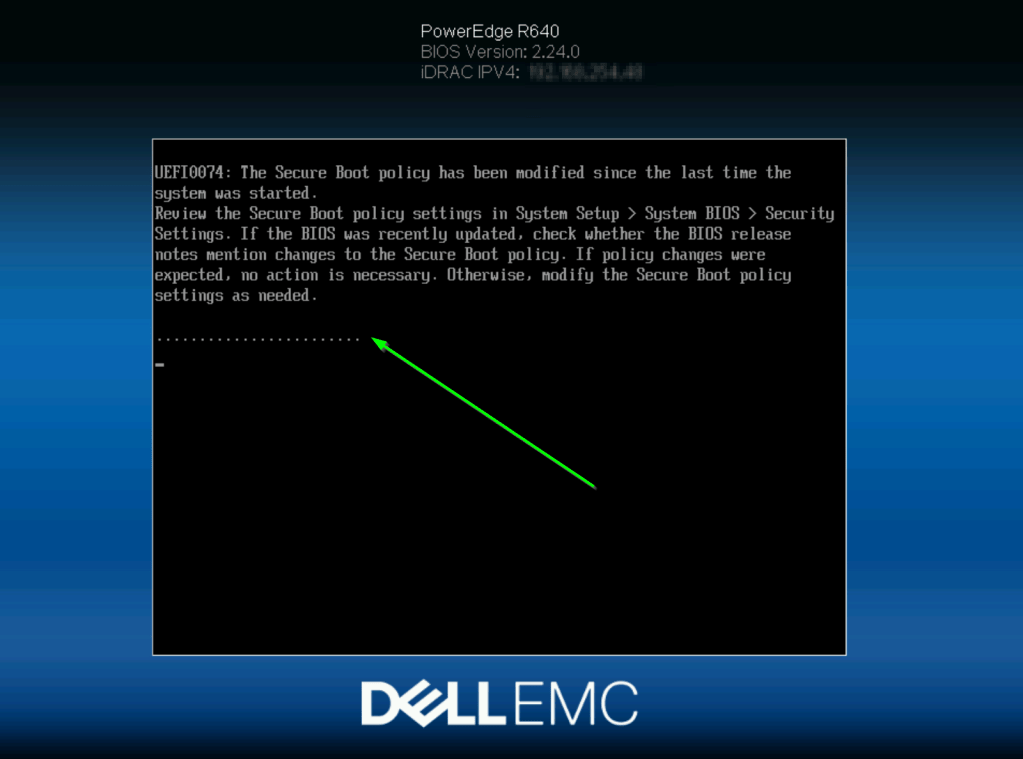
- With those settings in place, you’ll get a message such as the following on the next boot
- To validate that your TPM chip is detected within ESXi, do the following
- SSH into the host and run the following:
esxcli hardware trustedboot get - That should produce a result as shown
- If not, refer back to the previous steps and adjust your Dell Serer BIOS config

HPE / Lenovo / Cisco / other brands
I wasn’t an early BITCOIN adopter, so just have one server brand represented at home, for the other OEMS, refer to the respective manuals for the steps to install / provision your TPM
The above steps within ESXi would be the same once you’ve satisfied the physical install and BIOS enablement for your TPM 2 chip
vCenter server side changes required
- Within vSphere > go to the top of the hierarchy > select your vCenter instance > configure > Key providers > choose ADD > Native provider

Check the box shown to use the TPM 2.0 chip you got working in the previous section
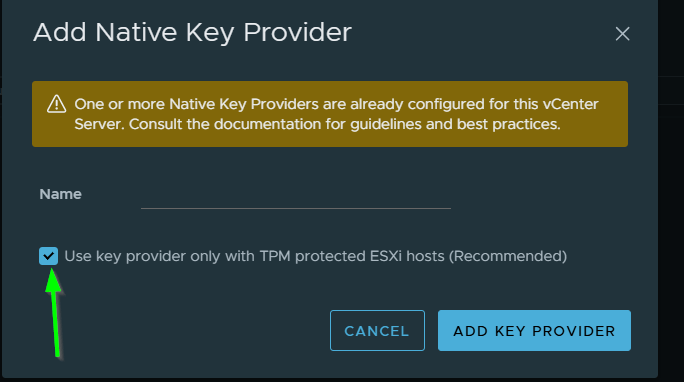
Fill in the required info + SAVE THE KEY INFO to your preferred password manager
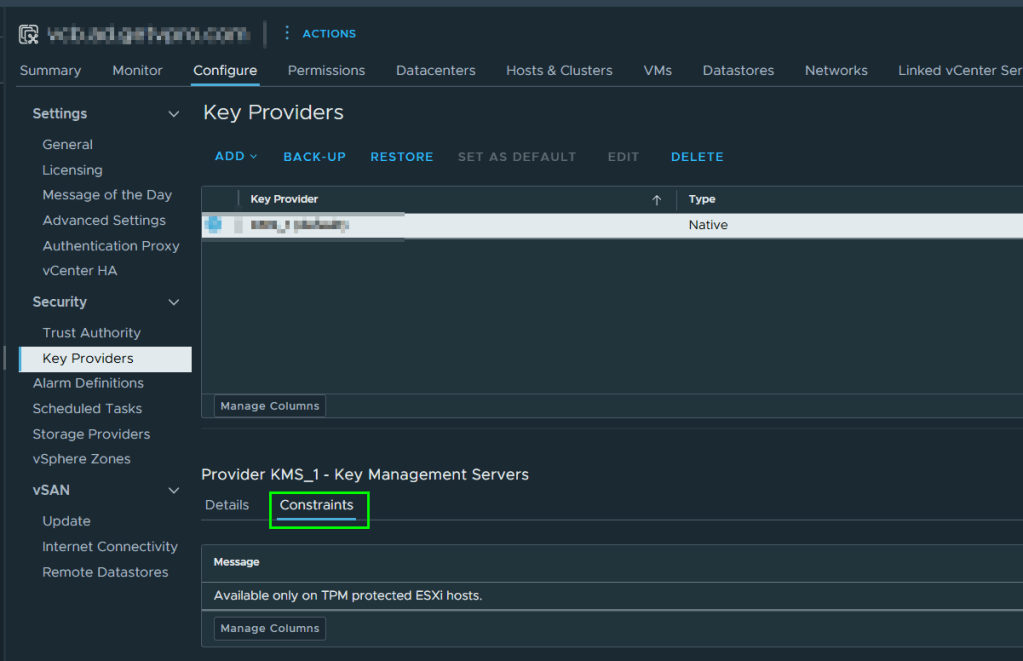
When done, your KMS setup should look as below
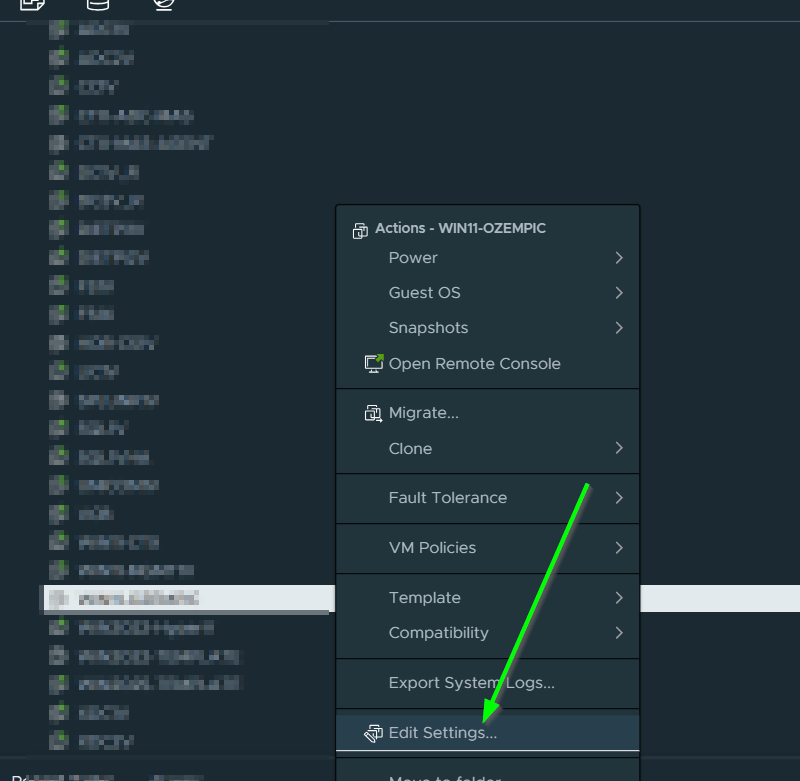
vCenter VM side changes required
Finally! you can add that vTPM!
- With the VM powered off, access it’s properties and choose EDIT SETTINGS
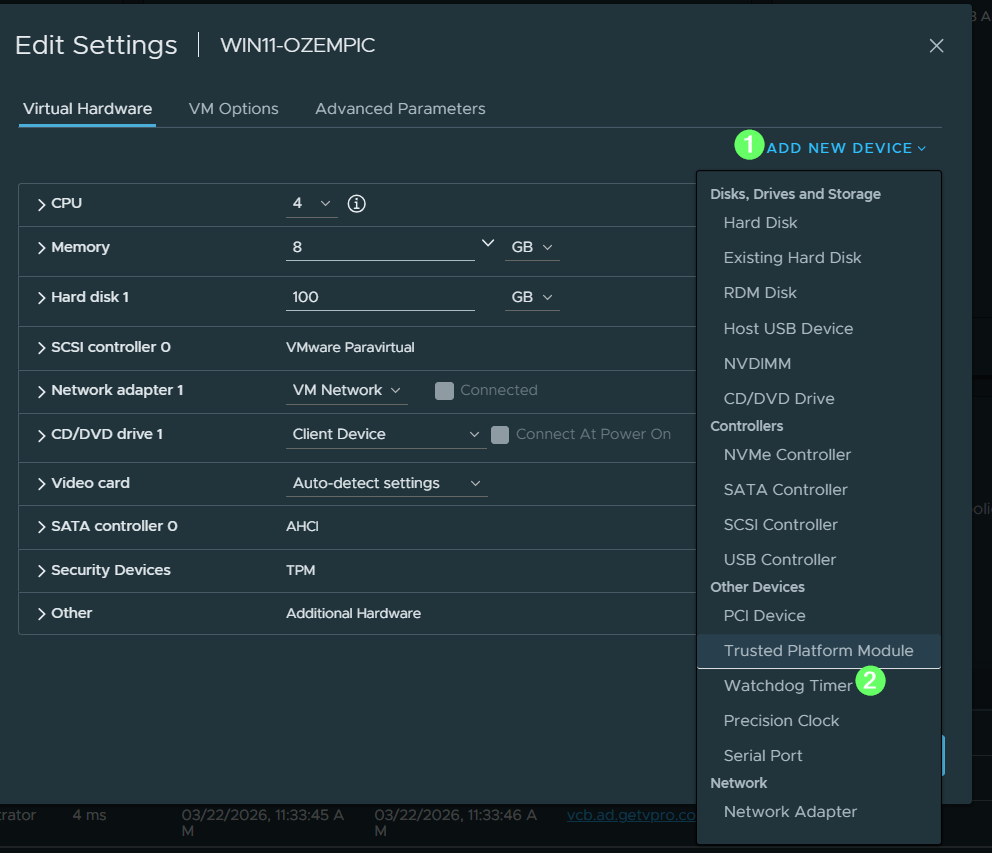
Add as below
It should be noted, that you CAN use an external KMS if one is available, however, going the hardware route is going to be more secure and less work, and less moving parts, see the below on that topic
Quick Tip – Which vCenter Server Key Provider (KMS) is a VM using?
Thanks for reading and have a great day
Owen
