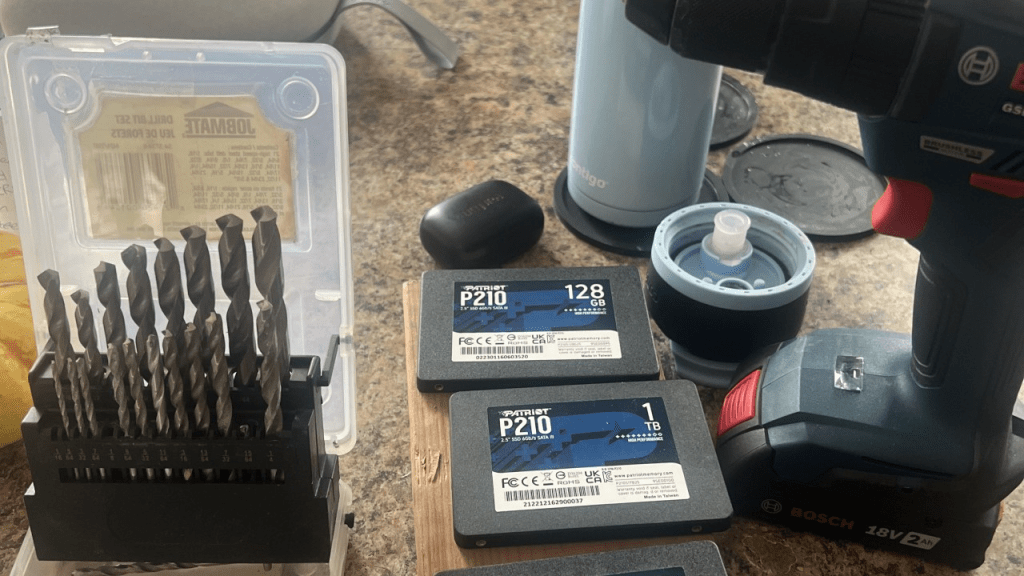
Spring cleaning season is here in Montreal. To make a Saturday May 3 2026 rainy day , I decided to inventory some older hardware I found in my home-office, including some Patriot-brand SSDs that caused me a lot of grief 3 years back.
With ESXi 7.0.3 released Oct 5, 2021 , VMware recommended exiting the use of USB-based boot devices to install / boot ESXi: https://knowledge.broadcom.com/external/article?legacyId=85685
I’ve been running ESXi for my home server needs for years, so, I switched over to SSD around 2023. I bought 4 Patriot brand standard SSD (not NVM) on Amazon.ca. I then switched over my ESXi hosts as part of hardware refresh, which I have detailed on my personal blog here
Within about a year, and certainly after the warranty expired, I started to note intermittent performance issues , usually during large VMotion activities. On one impacted 1 TB drive, I didn’t even get a chance to run through the below CLI before the drive went offline, however, if you’re concerned about the same happening to you, here are some CLI commands
esxcli storage core device listesxcli storage core device smart get -d <device_id>
I swapped out the Patriot 1 TB brand for a Samsung 1 TB SSD (not NVM), and the issue was resolved
I parked the drives on a shelf for a few years, until today.
The nature of the SSD performance issues were intermittent prior to the total failure with 1/4 of the drives. Any IT person knows, intermittent issues are often the hardest issues to resolve.
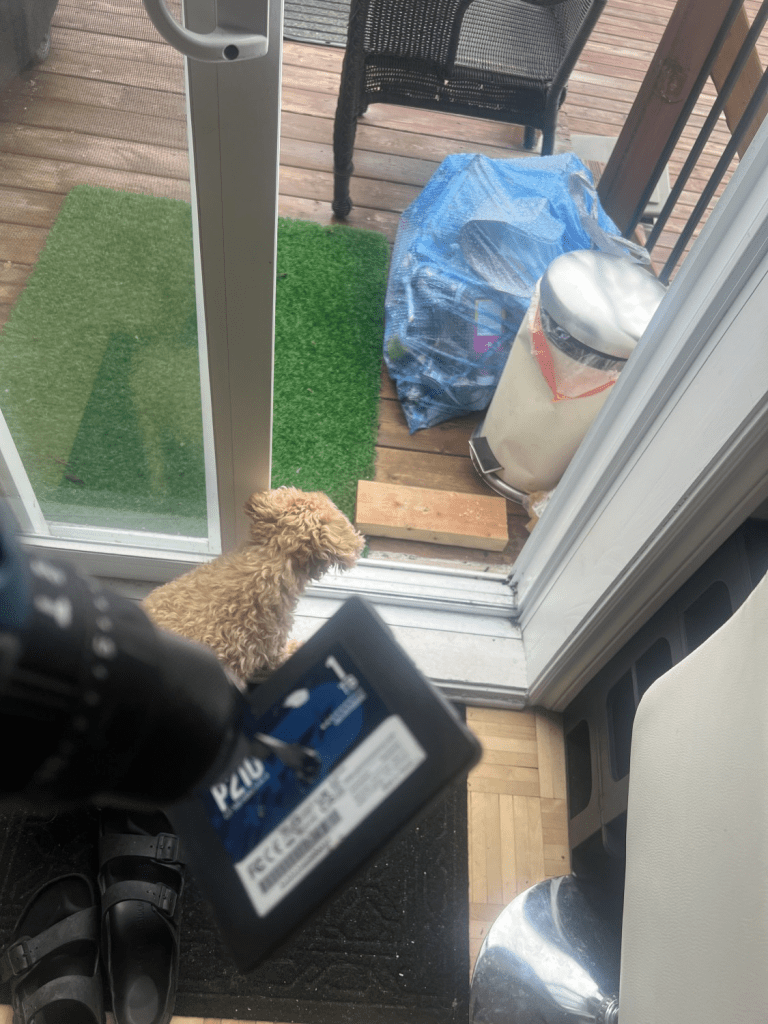
So, it was TIME FOR PAYBACK. So, I hit ’em with the drill. Placing the 128 GB & 1 TB drives on a spare block of wood. I got closure, and secure destruction using tools I already had at home ⚙️🛠️

Thanks for reading and have a great weekend 🌻🌞
This isn’t an advertisement for storage OEMS, however, from 2024 onwards, I only buy & use SSD from the big dogs: Samsung, Toshiba and Intel for my home virtualizations needs
Owen
